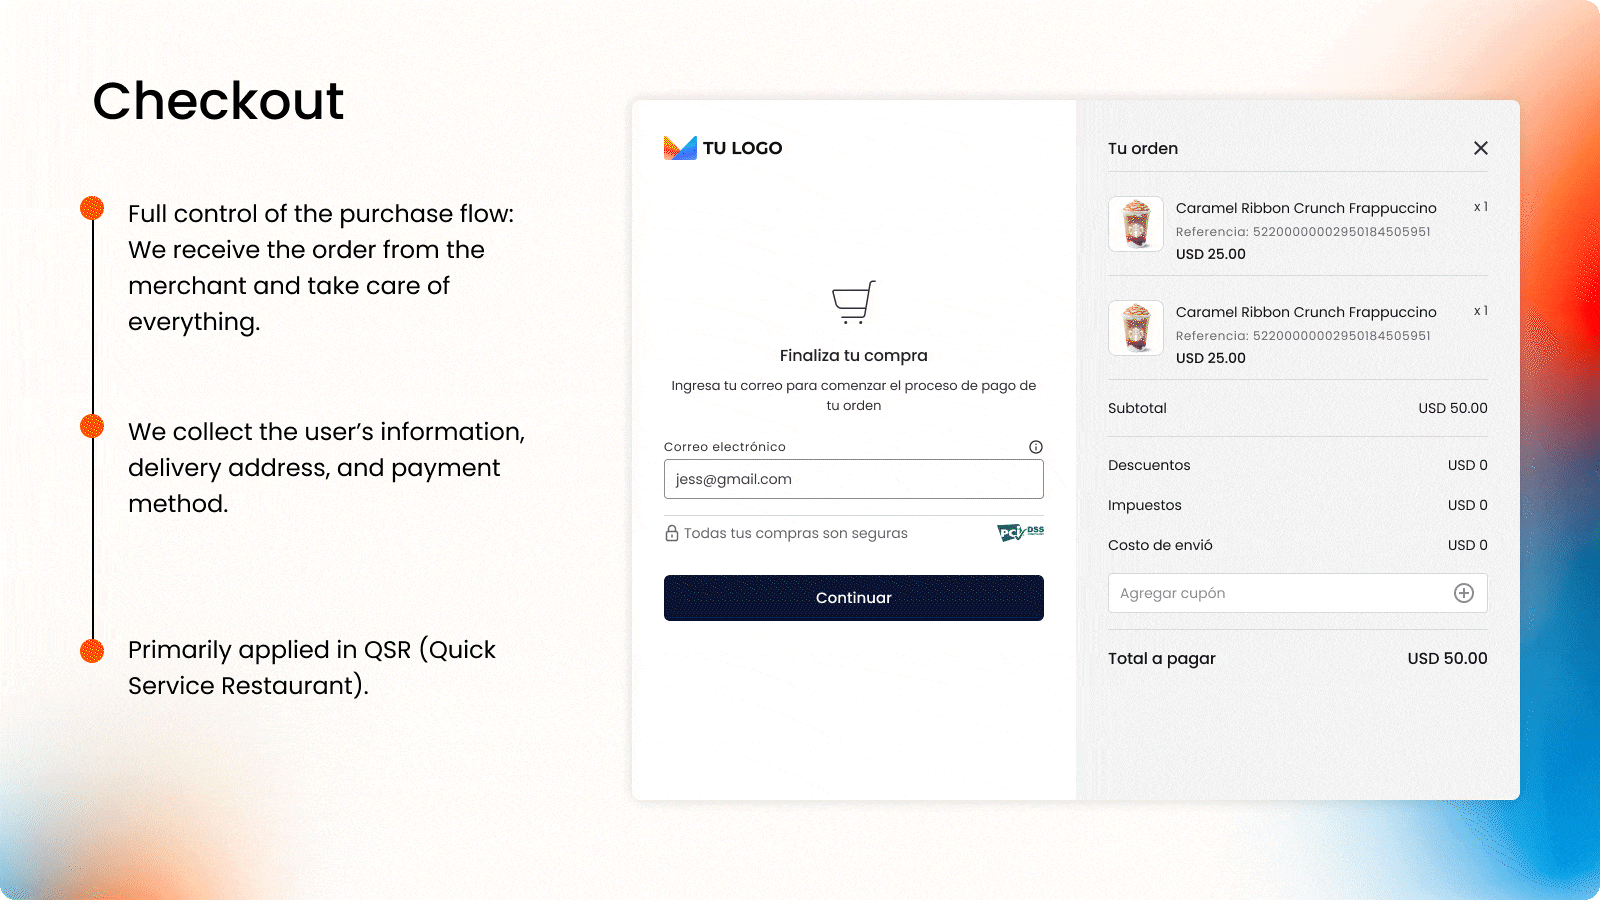
Accept and process payments in your application using the Checkout widget.
Follow the steps below to capture payments.
Initialize the widget
Before integrating the Payment Widget, complete the First steps - Web.
1. Display the widget
To display the Checkout Widget, call the initCheckout function passing the following data:
Parameters
| Attribute | Type | Description |
|---|---|---|
orderToken | string | Unique token generated for the payment order. This token is generated through the DEUNA API, and you must implement the corresponding endpoint in your backend to obtain this information. NOTE: The Checkout widget requires an order of type When creating the order with the API In DEUNA, a redirect URL (redirect_url) must not be defined for the onSuccess callback to run correctly. |
callbacks | JSON | Callbacks are return functions that listen for and handle widget events. These events allow you to manage specific actions based on the payment status. The main callbacks are: |
styleFile (Optional) | string | UUID provided by DEUNA. This applies if you want to configure a If a valid value is provided for |
language(Optional) | string | This parameter allows you to specify the language in which the widget interface is displayed. It must be provided as a valid language code (for example, "es" for Spanish, "en" for English, "pt" for Portuguese). Behavior:
|
await DeunaSDK.initCheckout({
  orderToken: "<DEUNA order token>",
  callbacks: {
    onClosed: (action) => console.log("closed from Payment Widget"),
    onSuccess: (data) => console.log("purchaseResponse: ", data),
    onError: (error) => console.log("error", error),
    onEventDispatch: function (event, data) {
      console.log("onEventDispatch: ", { event, payload });
    },
  },
});
2. Listen to Checkout widget events
When a transaction succeeds or fails, you must update your interface to notify users about the result of the transaction. You can do this by listening to the events of the Payment widget through callbacks.
The callbacks passed to the function initPaymentWidget allow you to listen for widget events. Define the corresponding callbacks to update your app interface:
Callbacks
| Callback | Trigger |
|---|---|
onSuccess | Executed when payment is complete. This callback contains a JSON parameter containing the order information. |
onError | Runs when an error occurs while processing the payment. This callback contains a JSON parameter that identifies the type of error that occurred during the processing. |
onClosed (optional) | Runs when the Payment widget is closed. This callback contains a string parameter whose values can be one of the following:
|
onEventDispatch (optional) | Executed on all events that the widget can produce. This callback contains a parameter of type string and the data (JSON) associated with said event. |
3. Close the widget
By default, the Payment widget only closes when the user presses the widget's close button. To close the modal when a payment is successful or when an error occurs, call the function close.
await DeunaSDK.close();The following example code shows how to close the widget when a payment is successful.
await DeunaSDK.initCheckout({
  orderToken: "<DEUNA order token>", // Mandatory token to start widget
  callbacks: {
    // optional
    onSuccess: async (data) => {
      await DeunaSDK.close(); // Closes the widget
      console.log("purchaseResponse: ", data);
    },
  },
});
Customize the widget
Use the setCustomStyle function to customize the widget appearance.
await DeunaSDK.setCustomStyle({...});
For more information, refer to Custom style.
Example
await  DeunaSDK.initCheckout({
  orderToken: "<DEUNA order token>", // Mandatory token to start widget
  callbacks: {
    onSuccess: ...,
    onEventDispatch: async (event, data) => {
      await DeunaSDK.setCustomStyle({
        theme: {
          colors: {
            primaryTextColor: "#023047",
            backgroundSecondary: "#8ECAE6",
            backgroundPrimary: "#F2F2F2",
            buttonPrimaryFill: "#FFB703",
            buttonPrimaryHover: "#FFB703",
            buttonPrimaryText: "#000000",
            buttonPrimaryActive: "#FFB703",
          },
        },
        HeaderPattern: {
          overrides: {
            Logo: {
              props: {
                url: "https://images-staging.getduna.com/ema/fc78ef09-ffc7-4d04-aec3-4c2a2023b336/test2.png",
              },
            },
          },
        },
      });
    },
  },
});