The Payment widget is an integrated tool that allows you to offer multiple payment methods to end customers.
The Payment widget supports:
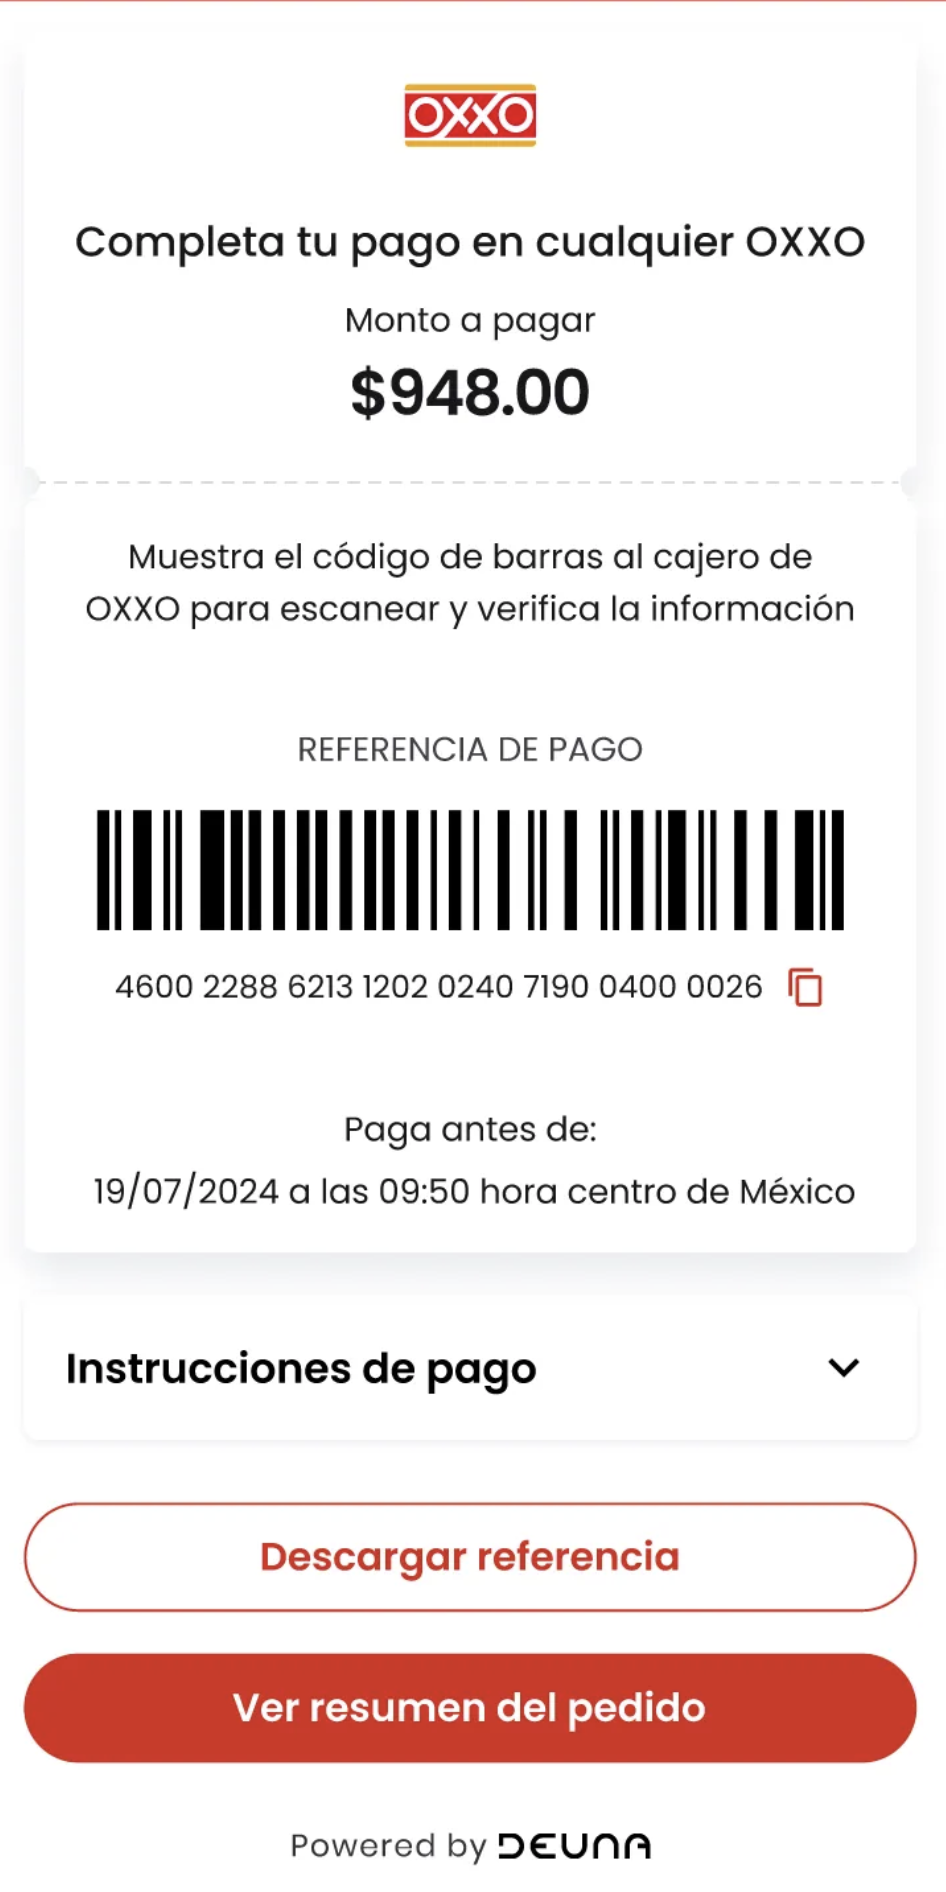
- Alternative payment methods (APMs): Such as OXXO, KueskiPay, and Aplazo. others.
- Credit and debit cards: MasterCard, Visa, American Express, and so on.
Initialize the widget
Before integrating the Payment Widget, complete the Getting Started.
1. Display the Widget
Display in a Modal
Follow these steps to display the Payment widget in a modal:
- Create an instance of the
DeunaSDKclass. - Add the
DeunaWidgetcomponent to your view. - Call the
initPaymentWidgetfunction.
import {
  DeunaSDK,
  DeunaWidget
} from '@deuna/react-native-sdk';

const deunaSDK = DeunaSDK.initialize({
  publicApiKey: "YOUR_PUBLIC_API_KEY",
  environment: "sandbox",
});

const YourScreen = () => {
  const onShowPaymentWidget = () => {
    deunaSDK.initPaymentWidget({
      orderToken: "YOUR_ORDER_TOKEN",
      callbacks: {
        onSuccess: async (order) => {
          await deunaSDK.close(); // Closes the Modal and releases payment widget resources.
          // YOUR CODE HERE
        },
        onError: (error) => {
          // Error handling
        },
        onClosed: (action) => {
          // Widget closed
        },
      },
    });
  };
  return (
    <View>
      <DeunaWidget instance={deunaSDK} />
      <Button
        onPress={onShowPaymentWidget}
        title="Show Payment Widget"
      ></Button>
    </View>
  );
};
Display the Widget in Embedded Form
To display the DEUNA widget in embedded form, you need to pass the mode: Mode.EMBEDDED parameter when calling the initPaymentWidget function.
To properly visualize the DEUNA widget in an embedded form, theDeunaWidgetcomponent must be inside a component that defines its dimensions.
import {
  DeunaSDK,
  DeunaWidget,
  Mode, // ADD THIS LINE
} from "@deuna/react-native-sdk";

const deunaSDK = DeunaSDK.initialize({
  publicApiKey: "YOUR_PUBLIC_API_KEY",
  environment: "sandbox",
});

const YourScreen = () => {
  const onShowPaymentWidget = () => {
    deunaSDK.initPaymentWidget({
      orderToken: "YOUR_ORDER_TOKEN",
      mode: Mode.EMBEDDED, // ADD THIS LINE
      callbacks: {
        onSuccess: async (order) => {
          await deunaSDK.close(); // Releases payment widget resources.
          // YOUR CODE HERE
        },
        onError: (error) => {
          // Error handling
        },
        onClosed: (action) => {
          // Widget closed
        },
      },
    });
  };
  return (
    <View>
      {/* Define Widget dimensions */}
      <View style={{ flex: 1, width: "100%" }}>
        <DeunaWidget instance={deunaSDK} />
      </View>
      <Button
        onPress={onShowPaymentWidget}
        title="Show Payment Widget"
      ></Button>
    </View>
  );
};
Parameters
| Attributes | Type | Modal | Embedded | Description |
|---|---|---|---|---|
orderToken | string | ✅ | ✅ | The orderToken is a unique token generated for the payment order. This token is generated through DEUNA's API and you must implement the corresponding endpoint in your backend to obtain this information. IMPORTANT: When creating the order with DEUNA's API, you should not define a redirect URL (redirect_url) so that the onSuccess callback runs correctly. |
callbacks | Json (Callbacks) | ✅ | ✅ | Callbacks are return functions that handle and listen to Payment widget events. These events allow managing specific actions based on payment status. The main callbacks include: onSuccess, onError, onClosed, onCanceled, onCardBinDetected, onInstallmentSelected, onDownloadFile. |
userToken (Optional) | string | ✅ | ✅ | The DEUNA user's bearer token. When this is sent, all actions within the widget are performed for this DEUNA user. Important: For this userToken to be used and saved cards to be shown to the customer, the email associated with that userToken must be the same as sent when creating the order in billing_address.email. If both emails don't match, then the flow without showing cards is used for security reasons. |
styleFile (Optional) | string | ✅ | ✅ | UUID provided by DEUNA. This applies if you want to configure a custom custom styles file (change colors, texts, logo, and so on). If a valid value is provided for styleFile, the Payment widget will use the UI configuration provided by the theme configuration that matches the provided UUID. |
paymentMethods (Optional) | Json[] | ✅ | ✅ | A list of allowed payment methods. This parameter determines what type of widget is rendered. |
language (Optional) | string | ✅ | ✅ | This parameter allows specifying the language in which the widget interface is displayed. It should be provided as a valid language code (for example, "es" for Spanish, "en" for English, "pt" for Portuguese). Behavior: - If provided: The widget uses the language specified in this parameter, regardless of the merchant's configuration. - If not provided: The widget uses the language configured by the merchant. |
behavior (Optional) | Json | ✅ | ✅ | Use this parameter to configure widget behavior. |
fraudCredentials (optional) | Json | ✅ | ✅ | This allows DEUNA to generate the fraudId and then send it to your anti-fraud provider. Check here for more info on how to configure this attribute |
domain (optional) | String | ✅ | ✅ | This optional parameter is used to override the base host when the payment widget URL is loaded. It replaces the default host (pay.deuna.io) with the domain you provide. Example: |
2. Configure payment methods
Parameter callbacks > onDownloadFile (optional)
callbacks > onDownloadFile (optional)Use the onDownloadFile callback to listen when a request to download a file has been received (Download of a Voucher, an image, an so on).
deunaSDK.initPaymentWidget({
  orderToken: "YOUR_ORDER_TOKEN",
  mode: Mode.EMBEDDED, // ADD THIS LINE
  callbacks: {
    onDownloadFile: (file) => {
      const { type, data } = file;
      const mapper = {
        [DownloadType.URL]: () => {
          // TODO: Implement download from url
        },
        [DownloadType.BASE64]: () => {
          // TODO: Implement download from image base64
        },
      };
      mapper[type]();
    },
  },
});
fraudCredentials parameter (optional)
The initPaymentWidget function accept the fraudCredentials parameter.
deunaSDK.initPaymentWidget({
  orderToken: "YOUR_ORDER_TOKEN",
  fraudCredentials: {
    RISKIFIED: {
      storeDomain: 'deuna.com',
    },
  }
});
Parameter behavior (Optional)
behavior (Optional)The initPaymentWidget method accepts an optional parameter called behavior, which allows customizing the payment widget's behavior according to business needs or desired flow.
This includes configurations such as:
- Display a payment flow in one or two steps.
- Enable payments with multiple cards.
- Activate specific behaviors for certain payment methods
These configurations apply to all payment methods enabled in the widget.
Payment methods behavior paymentMethods
paymentMethodsWithin behavior, you can specify global or payment method-specific configurations through the paymentMethods parameter. Below, we explain two common cases:
flowType: Flow type control
flowType: Flow type controlThis parameter controls how the payment flow is presented for methods like PayPal.
It's useful for improving user experience by first showing a summary and then payment confirmation, or everything in one step.
Available values:
twoStep→ Shows first an order summary, then the payment form.singleStep→ Shows directly the payment form.
Current compatibility: Only applies to PayPal for now.
deunaSDK.initPaymentWidget({
  orderToken: "TOKEN",
  .
  .
  .
  behavior: {
    paymentMethods: {
      flowType: "twoStep",
    },
  },
});
If you want the user to see first an order summary before authorizing PayPal, use "twoStep".
Auto Purchase Configuration for PayPal
The Auto Purchase (automatic purchase) function for PayPal allows processing payments instantly when:
- The customer has previously linked their PayPal account.
- They have authorized quick payments in their account.
deunaSDK.initPaymentWidget({
  orderToken: "<DEUNA order token>",
  paymentMethods: [
    {
      paymentMethod: "wallet",
      processors: ["paypal_wallet"],
      configuration: {
        express: true,
      },
    },
  ],
});
Configuration parameters
| Parameter | Type | Default value | Description |
|---|---|---|---|
| express | boolean | true | When true, processes payment automatically if the customer has PayPal linked. When false, allows selecting/confirming the account. |
The express configuration only works if only the PayPal configuration is passed in thepaymentMethodsparameter .
3. Show or hide payment methods
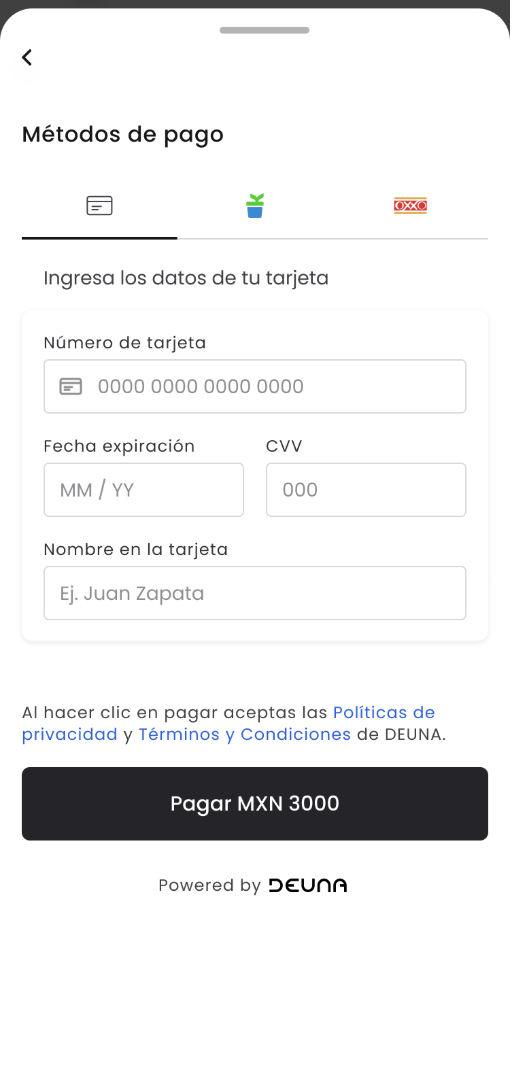
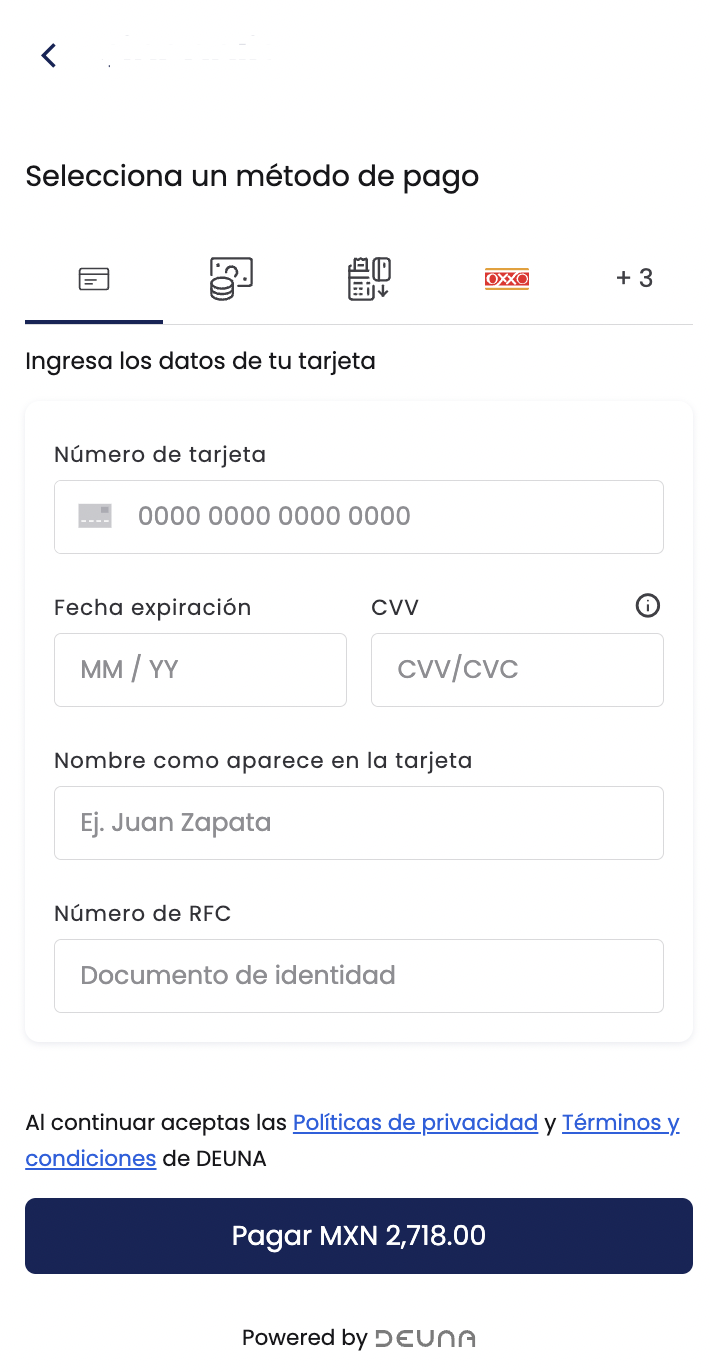
The Payment widget can display various payment methods available for an order, without the merchant having to individually add each APM button in their frontend.
When invoking the initPaymentWidget function, the paymentMethods parameter defines the payment methods that the widget will display:
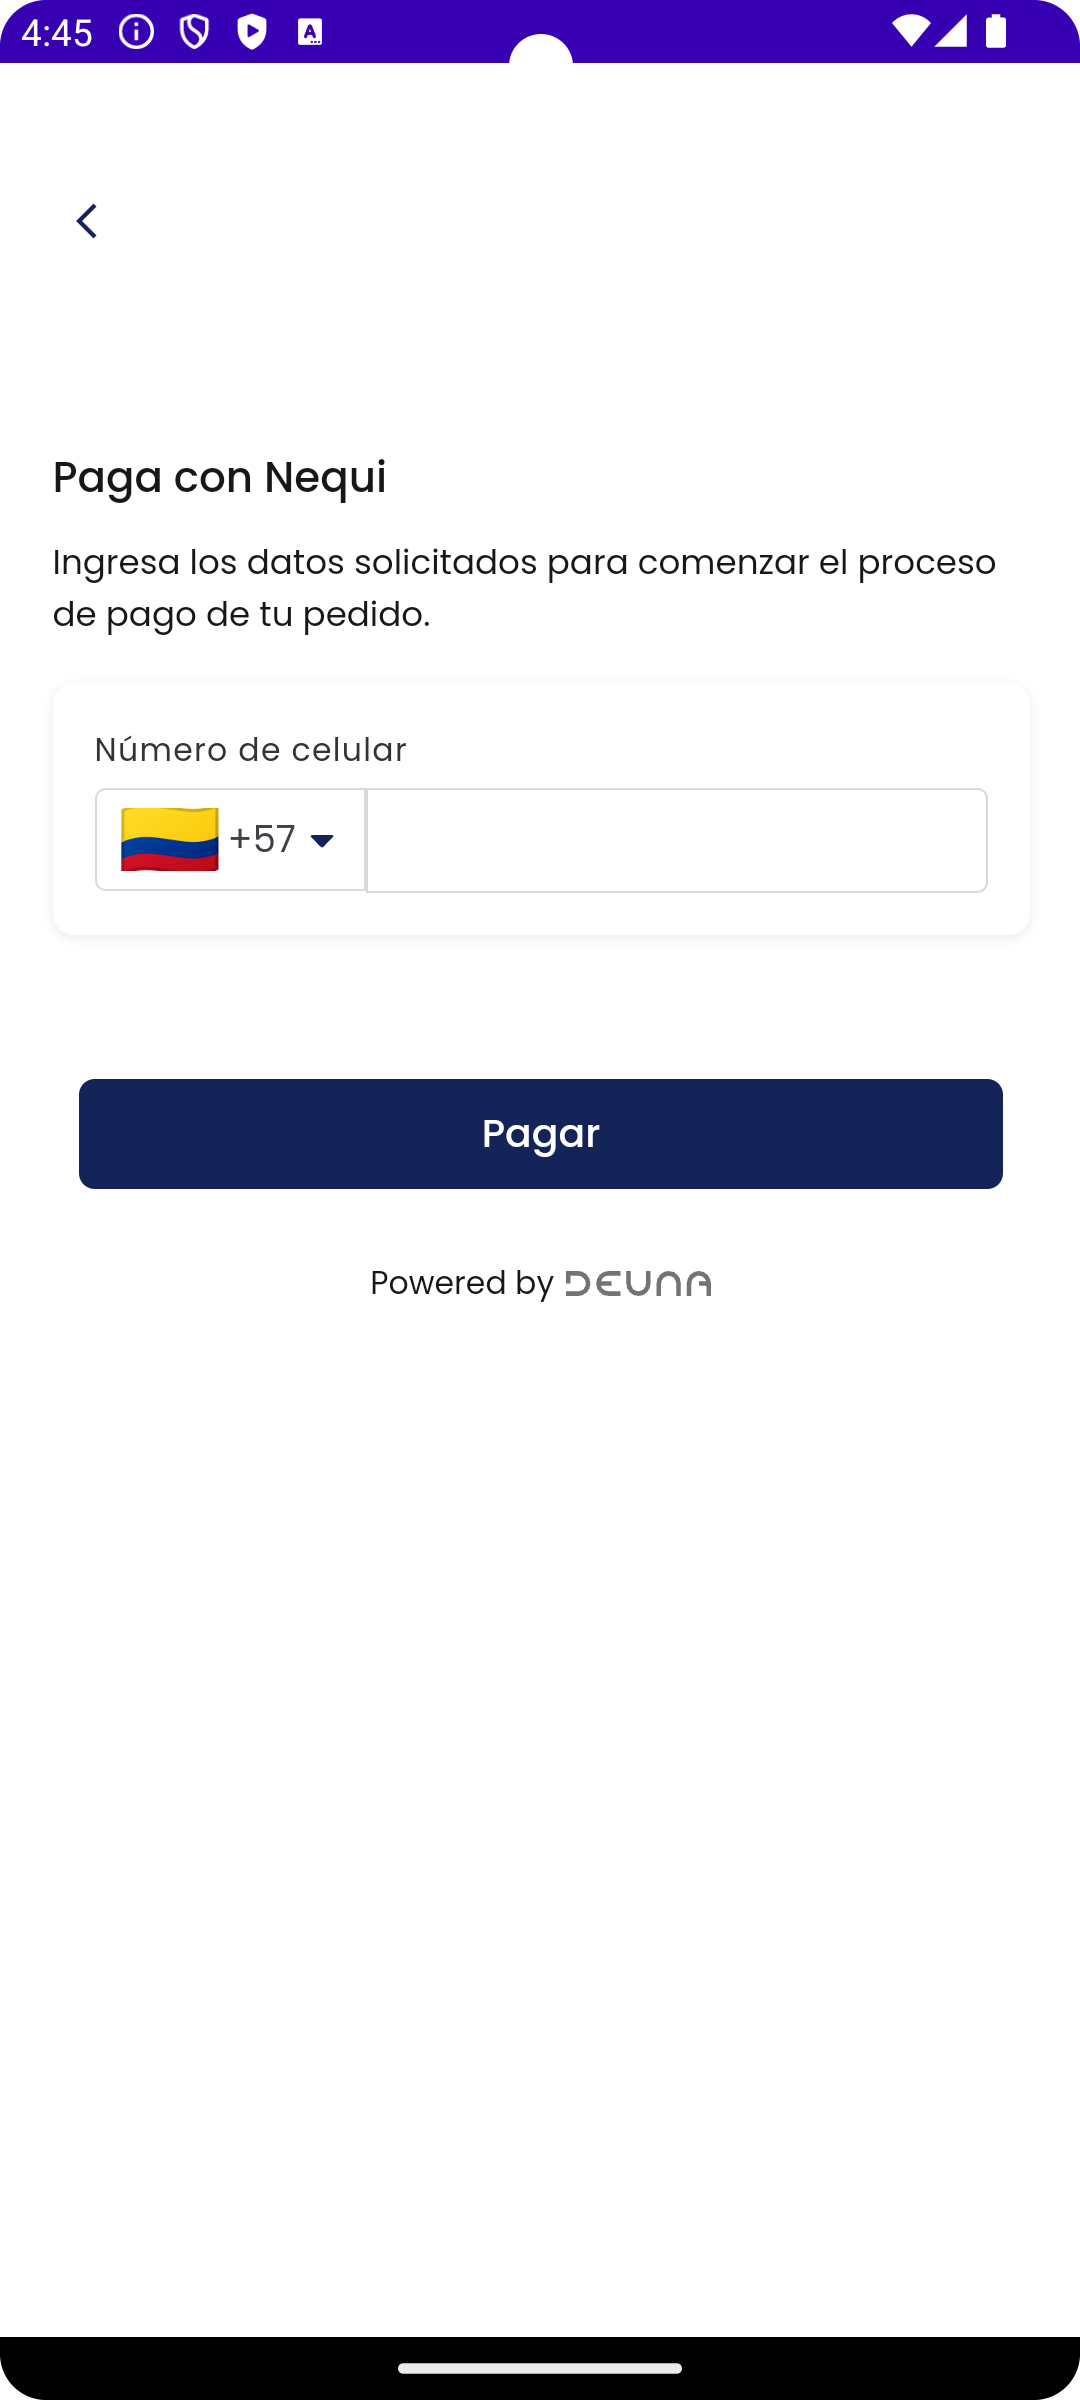
If only one method is passed in paymentMethods, the widget automatically opens the payment method form without showing other AMP buttons.
deunaSDK.initPaymentWidget({
  orderToken: "<DEUNA order token>",
  userToken: "...", // optional
  styleFile: "...", // optional
  callbacks: { ... }, // replace with actual callbacks object
  paymentMethods: [
    {
      paymentMethod: "voucher",
      processors: ["payu_oxxo_cash"]
    }
  ]
});
deunaSDK.initPaymentWidget({
orderToken: "<DEUNA order token>",
userToken: "...", // optional
styleFile: "...", // optional
callbacks: { /* your callbacks object */ },
paymentMethods: [
{
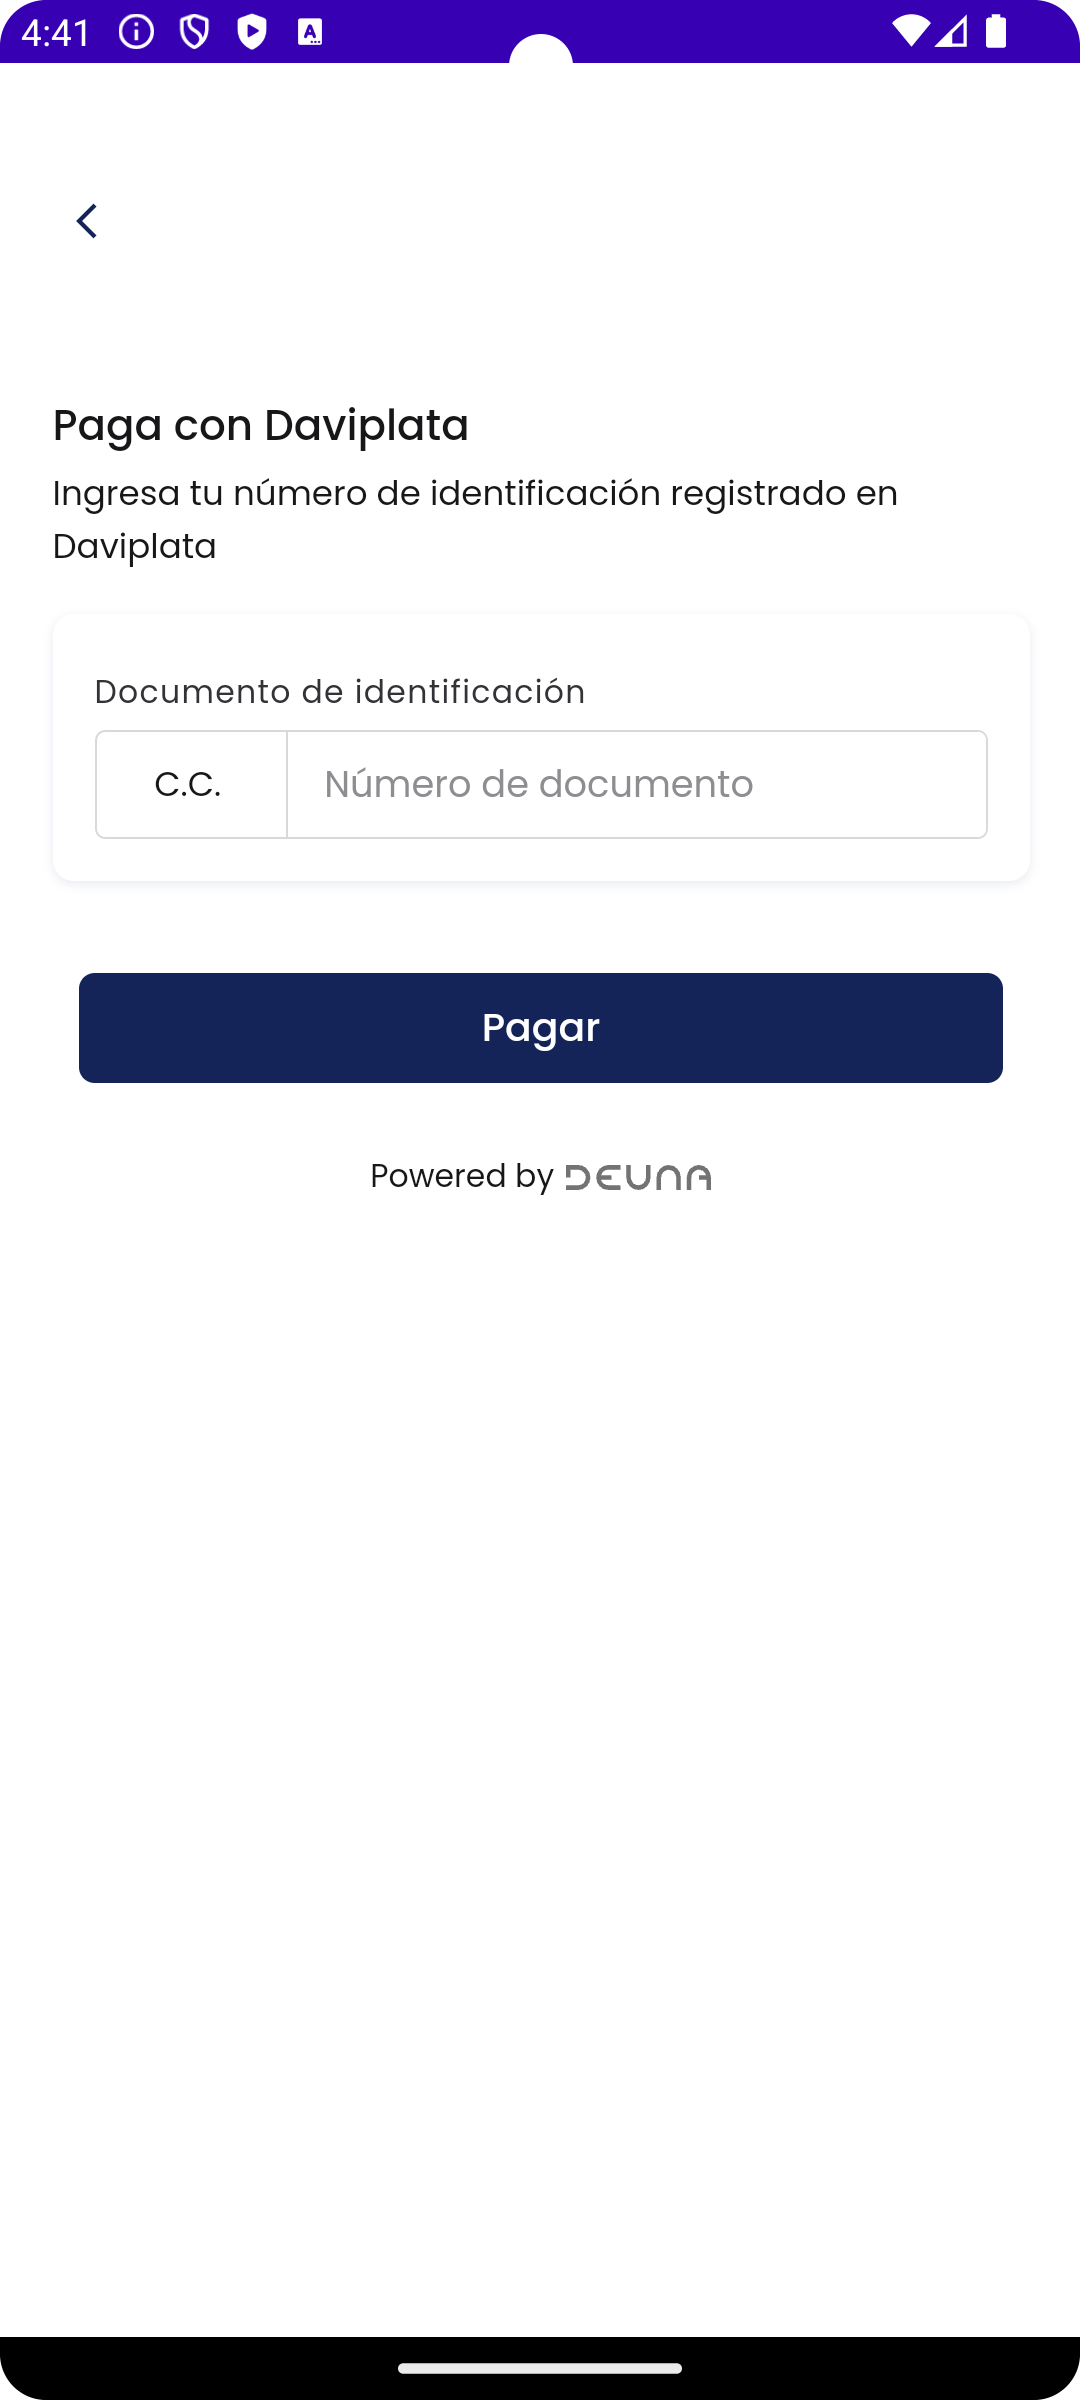
paymentMethod: "voucher",
processors: ["daviplata"]
}
]
});
deunaSDK.initPaymentWidget({
  orderToken: "<DEUNA order token>",
  userToken: "user_token_here", // optional
  styleFile: "style-file-id", // optional
  callbacks: {
    onSuccess: (data) => console.log("Payment success", data),
    onError: (error) => console.error("Payment error", error),
    onClose: () => console.log("Widget closed"),
  },
  paymentMethods: [
    {
      paymentMethod: "voucher",
      processors: ["nequi_push_voucher"],
    },
  ],
});
For credit card processing, you don't need to pass the processor array. You can have multiple processors configured for the use of routing.
deunaSDK.initPaymentWidget({
  orderToken: "<DEUNA order token>",
  userToken: "user_token_here", // optional
  styleFile: "style-file-ids", // optional
  callbacks: {
    onSuccess: (data) => console.log("Payment success", data),
    onError: (error) => console.error("Payment error", error),
    onClose: () => console.log("Widget closed"),
  },
  paymentMethods: [
    {
      paymentMethod: "credit_card",
    },
    {
      paymentMethod: "bnpl",
      processors: ["kueski"],
    },
    {
      paymentMethod: "voucher",
      processors: ["payu_oxxo_cash"],
    },
  ],
});
- If no method list is specified in
paymentMethodsand theinclude_payment_optionsparameter was not used when creating the order, then the widget displays all payment methods configured for the merchant.
deunaSDK.initPaymentWidget({
  orderToken: "<DEUNA order token>",
  .
  .
  .
  callbacks: {
    onSuccess: (data) => console.log('Payment success', data),
    onError: (error) => console.error('Payment error', error),
    onClose: () => console.log('Widget closed')
  },
});
Payment methods configuration priorities
The following table shows how the payment widget decides which payment forms to display when the paymentMethods parameter is not passed.
| Priority | Configuration source | Description | Behavior of a single payment method |
|---|---|---|---|
| 1 | Payment methods passed when executing the .initPaymentWidget or .buildPaymentWidgetUrl function | Payment methods are shown according to those passed when starting the widget, as long as they are activated and configured at the merchant level. | If only one payment method is passed, then the widget automatically opens the payment method form without showing buttons. |
| 2 | Order and include_payment_options | The order is checked to verify if include_payment_options has payment methods that are configured and activated at the merchant level. Unconfigured methods are not shown. | If only one payment method is passed, then the widget automatically opens the payment method form without showing buttons. |
| 3 | Methods configured at merchant level (API /payment-methods) | If no payment method is passed either in the .initPaymentWidget function or in include_payment_options when creating the order, methods configured at the merchant level are taken. | If only one payment method is passed, then the widget automatically opens the payment method form without showing buttons. |
4. Listen to widget events
When a transaction is successful or fails, it's important to update your interface to notify users about the transaction result. You can do this by listening to payment widget events through callbacks.
The initPaymentWidget function allows you to listen to widget events through callbacks. Define the respective callbacks to update your app's interface.
Callbacks
| Callback | Modal | Embedded | When is it triggered? |
|---|---|---|---|
onSuccess | ✅ | ✅ | Executes when payment is completed. This callback contains a parameter of type JSON with order information. |
onError | ✅ | ✅ | Executes when an error occurs. This callback contains a parameter of type PaymentsError which identifies the type of error produced. |
onClosed (Optional) | ✅ | ❌ | Executes when the dialog containing the payment widget is closed. This callback contains a parameter of enum type CloseAction with the following values:- userAction: When the widget was manually closed by the user, pressing the close button (X) or the back button on Android without the operation being completed.- systemAction: When the widget closes due to execution of the close function. NOTE: For embedded implementation the onClosed callback does not run. |
onCardBinDetected (optional) | ✅ | ✅ | Executes when the payment widget detects the BIN of an entered credit or debit card or when the user deletes the entered card number. This callback contains a parameter of type JSON with BIN information and the brand of the entered card. NOTE: The Json type parameter will be null when the user deletes the text entered in the card number field. |
onInstallmentSelected (optional) | ✅ | ✅ | If the order can be deferred, then this callback runs when the user selects the months to defer. This callback contains a parameter of type JSON with information about the months to defer selected by the user. NOTE: The Json type parameter will be null when the user selects current payment (no installments). |
onPaymentProcessing (optional) | ✅ | ✅ | This callback runs when the user presses the pay button and the payment is being processed. NOTE: If there is any incorrect field in the payment form, then this event will not run. |
onEventDispatch (Optional) | ✅ | ✅ | Runs on all events that the widget can produce. This callback contains a parameter of type CheckoutEvent and the data associated with that event. |
Use theonErrorcallback to identify if the widget could not be shown or if an error occurred while processing the payment.
onError: async (error) => {
  // Assuming the error object has a 'type' property similar to PaymentsError.Type
  switch (error.type) {
    // The widget could not be loaded
    case 'INITIALIZATION_FAILED': {
     async deunaSDK.close();
      break;
    }

    // The payment failed
    case 'PAYMENT_ERROR': {
      // YOUR CODE HERE
      console.error('Payment failed:', error);
      break;
    }

    // Default case for other error types
    default: {
      console.warn('Unhandled error type:', error.type);
      break;
    }
  }
}
5. Close the widget
The close function releases Payment widget resources and closes the widget if it was shown in a modal.
To avoid memory loss, you should always release widget resources when you no longer need them.
The following example code shows how to close the widget when a payment is successful:
deunaSDK.initPaymentWidget({
  // In React/Web environment, we don't need activity context
  orderToken: "<DEUNA order token>",
  userToken: "<DEUNA user token>", // optional
  callbacks: {
    onSuccess: async(order: any) => {
      await deunaSDK.close(); // Close payment widget
      // Your additional success handling code
      console.log('Payment successful', order);

      // Example: Redirect to success page
    },
  }
});
When the DEUNA widget is displayed in a modal, its resources are released when the modal is closed.
If the widget is displayed in an embedded form and the user leaves your view, then you must release the widget resources.
import { DeunaSDK, DeunaWidget, Mode } from "@deuna/react-native-sdk";

const YourScreen = () => {
  useEffect(() => {
    return () => {
      deunaSDK.close(); // Release the widget resources
    };
  }, []);

  const onShowWidget = () => {
    deunaSDK.initPaymentWidget({
      orderToken: "TOKEN", // optional
      mode: Mode.EMBEDDED,
      callbacks: {...},
    });

    return (
      <View>
        <View style={{ flex: 1, width: "100%" }}>
          <DeunaWidget instance={deunaSDK} />
        </View>
        <Button onPress={onShowWidget} title="Show Payment Widget"></Button>
      </View>
    );
  };
};
Optional functionalities
In addition to the mandatory steps to operate the widget, you have the following customization options.
Customize widget appearance
Use the setCustomStyle function to customize the widget appearance.
await DeunaSDK.setCustomStyle({...});
For more information, go to Style Customization.
Example
deunaSDK.initPaymentWidget({
  orderToken: "<DEUNA order token>",
  userToken: "<DEUNA user token>", // optional
  callbacks: {
    onCardBinDetected: (cardBinMetadata: any) => {
      deunaSDK.setCustomStyle({
        theme: {
          colors: {
            primaryTextColor: "#023047",
            backgroundSecondary: "#8ECAE6",
            backgroundPrimary: "#F2F2F2",
            buttonPrimaryFill: "#FFB703",
            buttonPrimaryHover: "#FFB703",
            buttonPrimaryText: "#000000",
            buttonPrimaryActive: "#FFB703"
          }
        },
        HeaderPattern: {
          overrides: {
            Logo: {
              props: {
                url: "https://images-staging.getduna.com/ema/fc78ef09-ffc7-4d04-aec3-4c2a2023b336/test2.png"
              }
            }
          }
        }
      });
    },
    onSuccess: async(order: any) => {
      await deunaSDK.close();
      // Your success handling
    }
    // ... other callbacks
  }
});
Refresh the payment widget
The refetchOrder function updates the payment widget and returns the updated order data.
This function is useful, for example, when the merchant offers promotions. A common case is a "20% promotion when paying with Mastercard".
In this scenario, the merchant listens to the onCardBinDetected event to identify the card franchise. Then, the merchant updates the order in DEUNA (being responsible for calculating promotions) and, through this function, notifies the widget to update, since the order amount might have changed.
:Below is an example of using the refetchOrder function.
deunaSDK.initPaymentWidget({
  orderToken: "<DEUNA order token>",
  userToken: "<DEUNA user token>", // optional
  callbacks: {
    onCardBinDetected: async (metadata) => {
      if (metadata.cardBrand === "Mastercard") {
         const order = await deunaSDK.refetchOrder();
          console.log("Refetched order:", order);

      }
    },
  }
});
Hide the payment button (embedded widget)
When the Payment widget is displayed in embedded form, you can use the hidePayButton property to hide the payment button from the DeunaWidget.
deunaSDK.initPaymentWidget({
  orderToken: "YOUR_ORDER_TOKEN",
  mode: Mode.EMBEDDED, // ADD THIS LINE
  hidePayButton: true, // ADD THIS LINE
  callbacks: {
    onSuccess: async (order) => {
      await deunaSDK.close(); // Release payment widget resources.
      // YOUR CODE HERE
    },
    onError: (error) => {
      // Error handling
    },
    onClosed: (action) => {
      // Widget closed
    },
  },
});
You can use the following functions to validate and execute payment.
| Method | Description | Response |
|---|---|---|
.isValid() | Validates if the entered information is correct and if payment can be processed. | true if information is valid, false otherwise. |
.submit() | Executes the payment process, equivalent to pressing the pay button. Performs the same internal validations. | { status: "success", message: "Payment processed successfully" } or { status: "error", message: "The submit flow is not available" } |
Considerations
-
It's recommended to use
isValid()before callingsubmit()to avoid errors in the payment process. -
If the payment flow is not yet available, then
submit()returns an error with the message"The submit flow is not available".
Mercado Pago Wallet - support in v2.x.x of the DEUNA SDK
If your app doesn't use payment methods that require native browser functionality (such as Mercado Pago Wallet), no changes are required. However, starting from v2.x.x, payment methods that need to open in Custom Tabs (Android) or Safari View Controller (iOS) require configuring a custom adapter using the InAppBrowserAdapter interface and passing it to the DeunaSDK.initialize method.
Why this change?
- Some react native projects uses webpack to bundle their apps and
expo-web-browseris not compatible with webpack and we need to support it.
How to use it?
If you are using metro bundler, you can use the ExpoWebBrowserAdapter from the @deuna/react-native-in-app-browser package.
import { InAppBrowserAdapter, DeunaSDK } from '@deuna/react-native-sdk';
import { ExpoWebBrowserAdapter } from '@deuna/react-native-in-app-browser';

const deunaSDK = DeunaSDK.initialize({
  publicApiKey: 'your-public-api-key',
  environment: 'production',
  inAppBrowserAdapter: new ExpoWebBrowserAdapter(), // Pass the adapter to the SDK
});
Option B: Using react-native-inappbrowser-reborn
react-native-inappbrowser-rebornIf you are using webpack bundler, you can use the react-native-inappbrowser-reborn package to open the URLs that require native browser functionality (like Mercado Pago Wallet).
1. Install the dependency:
npm install react-native-inappbrowser-reborn
# or
yarn add react-native-inappbrowser-reborn
2. Create and use the adapter:
import InAppBrowser from 'react-native-inappbrowser-reborn';
import { InAppBrowserAdapter, DeunaSDK } from '@deuna/react-native-sdk';

class InAppBrowserRebornAdapter implements InAppBrowserAdapter {
  async openUrl(url: string): Promise<void> {
    try {
      if (await InAppBrowser.isAvailable()) {
        await InAppBrowser.open(url, {
          dismissButtonStyle: 'cancel',
          preferredBarTintColor: '#453AA4',
          preferredControlTintColor: 'white',
          readerMode: false,
          animated: true,
        });
      } else {
        // Fallback to system browser
        await Linking.openURL(url);
      }
    } catch (error) {
      console.error('Error opening in-app browser:', error);
      throw error;
    }
  }
}

const deunaSDK = DeunaSDK.initialize({
  publicApiKey: 'your-public-api-key',
  environment: 'production',
  inAppBrowserAdapter: new InAppBrowserRebornAdapter(),
});