Integrate Checkout
This page provides a guide for integrating DEUNA Checkout widget into your store.
Choose your integration
Integrate Checkout into your payment solution using the following options:
Checkout widget
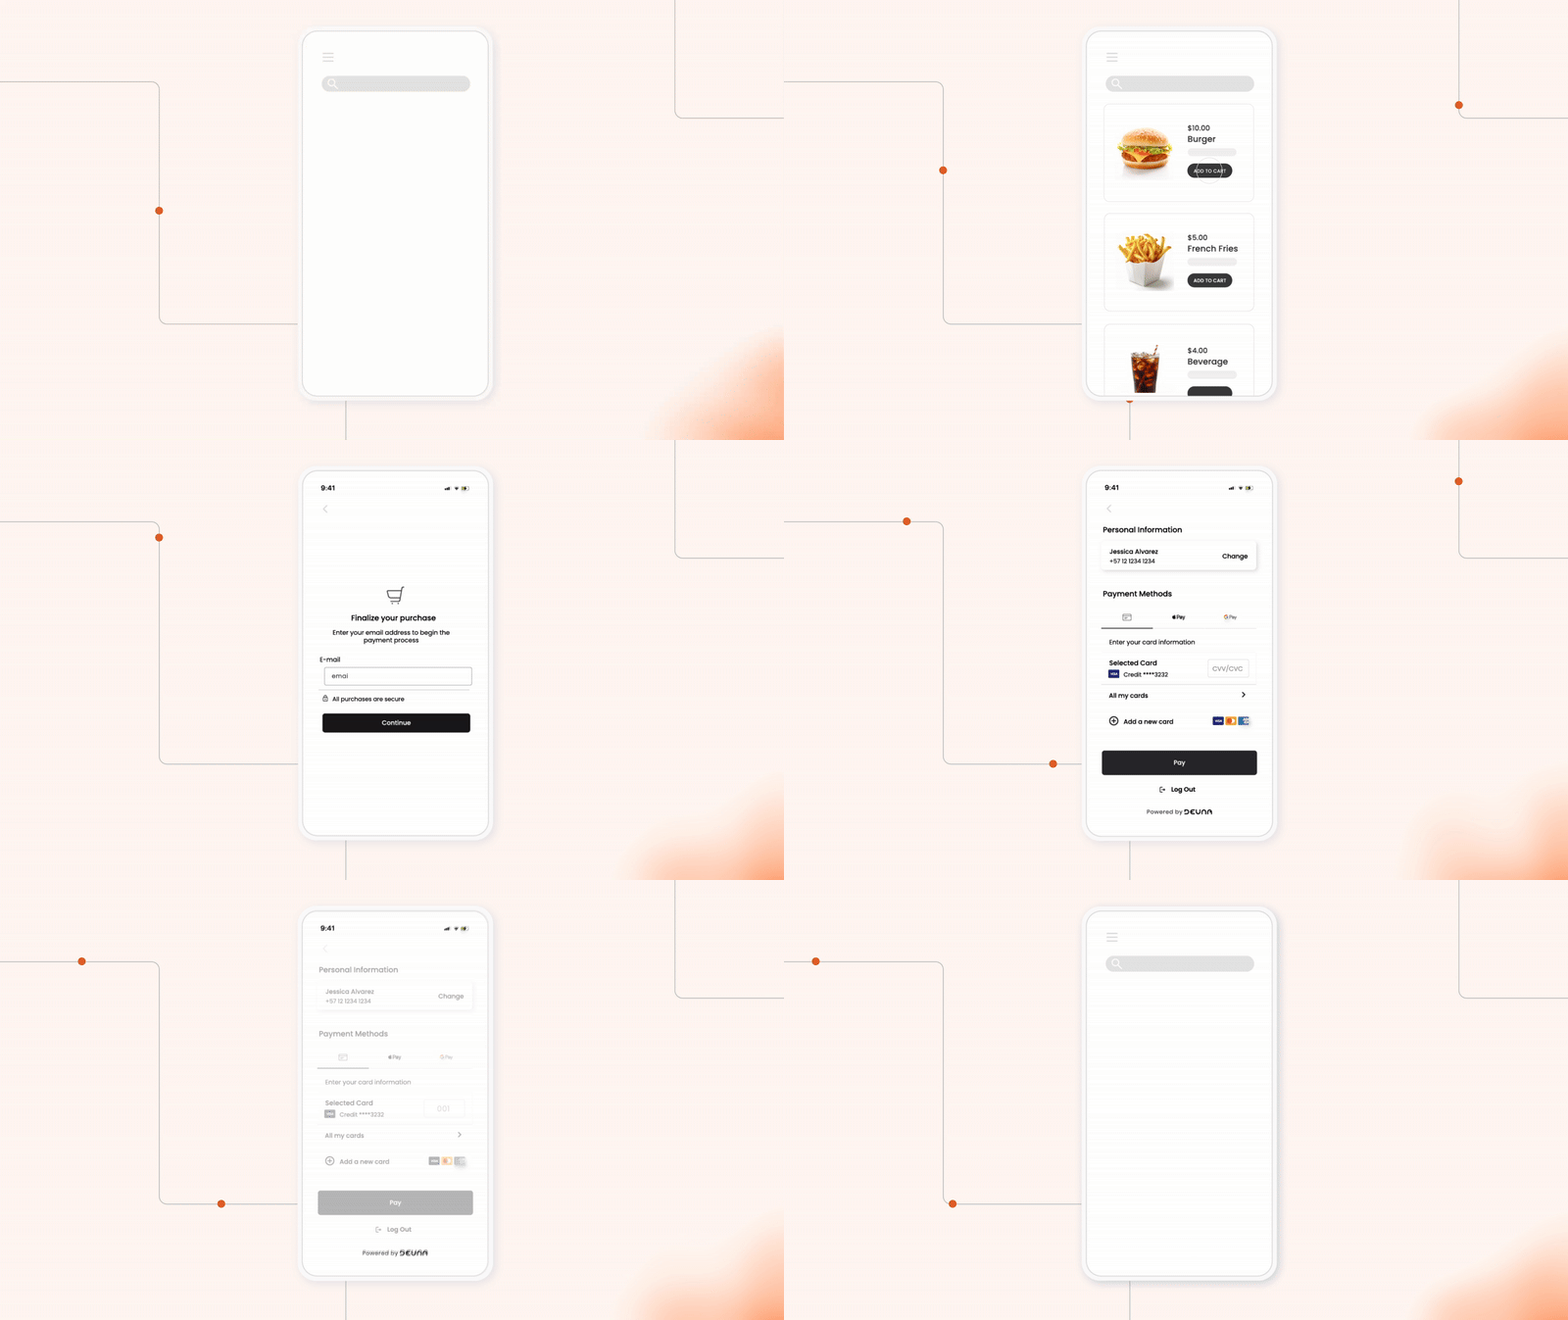
The Checkout widget is a customizable solution that provides a complete user experience (UX/UI). Ideal for those looking for a streamlined and distinctive shopping experience.

Headless (SDK)
An option that offers DEUNA Checkout's capabilities in the backend, without altering the current user experience.
Flexible modules
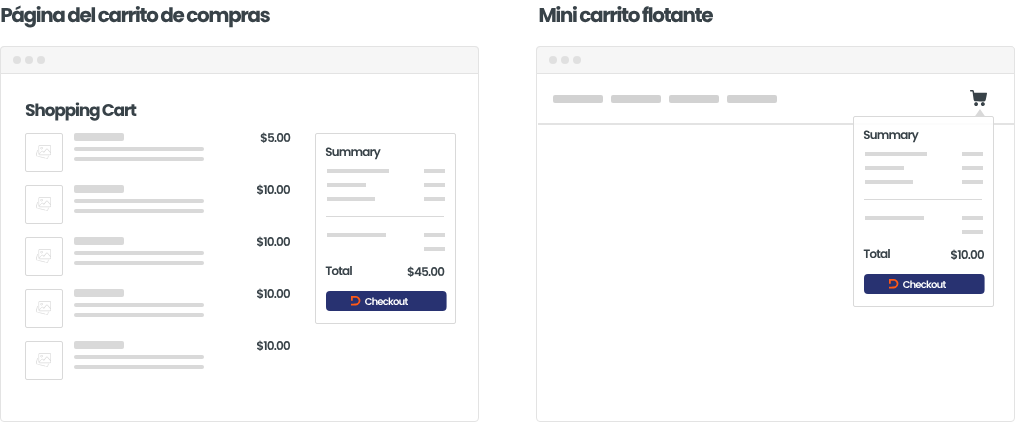
Complement your current experience with Checkout modules and adapt them to your needs.
Each module includes different features. Decide which module to use for your checkout and customize it. You can configure the modules according to your needs.
Integrate the checkout
The following steps describe how to install Checkout.
For a practical example, refer to the Sample integration.
In order to use the widget, you have to follow the following steps.
Requisites
The following content details the requirements for initializing the Checkout widget:
- Public and private API keys: Make sure that you have the public and private API keys provided by the DEUNA Administrator.
- Valid order token: Get a valid order token from the merchant server according to the instructions provided in Create Order
- Enabling external scripts: Verify that your application or website allows the loading of external scripts from DEUNA domains to ensure the widget works properly.
1. Add necessary references
Add the following references to your HTML code.
Place the scripts inside the <head> tag for correct initialization.
The first script will help you for cross-domain login:
<script src="https://cdn.getduna.com/cdl/index.js"></script>The second script launches the Checkout widget:
<script src="https://cdn.getduna.com/cdl/index.js"></script>2. Tokenize an order
Make a request to the Create Orderr endpoint to create and tokenize an order.
3. Initialize the Checkout widget
Initialize a Checkout instance in your application:
//  Initializes a checkout instance
const deunaCheckout = window.DeunaCheckout();

const config = {
    apiKey: "<your public API key>",
    env: "production",
    orderToken: "<order token>"
};

// Configure the checkout
await deunaCheckout.config(config);

// Show the checkout
await deunaCheckout.initCheckout();
Variables for widget configuration
Here are the essential variables to be able to build our widget:
Attribute | Description | Default value |
|---|---|---|
| Env | For development, use
. For production use,
. | production |
| API KEY | Public API Key obtained in the Admin. | null |
| orderToken | Identifier generated by DEUNA and obtained from the merchant's server. | null |
4. Activate the Checkout button
The Checkout button activates the widget, allowing your customers to make purchases quickly and securely.
You can use your own button.
<button id="button-checkout-deuna" onclick="shouldOpen()">
  <img src="https://images.getduna.com/logo-full-deuna-D.svg" alt="DEUNA"> Checkout
</button><script>
function shouldOpen() {
const config = {
// Configures previous point
};
deunaCheckout.configure(config).then(() => {
deunaCheckout.shouldOpenCheckout().then((openCheckout) => {
if (openCheckout) {
deunaCheckout.show().then(() => {
// Make additional actions if necessary
});
}
});
});
// Alternative option:
// await deunaCheckout.configure(config);
// const openCheckout = await deunaCheckout.shouldOpenCheckout();
// if (openCheckout) {
// await deunaCheckout.show();
// }
}
</script>@import url('https://fonts.googleapis.com/css2?family=Roboto:wght@400;500;700&display=swap');
#button-checkout-deuna {
margin: 30px auto;
font-family: 'Roboto', sans-serif;
background: #283271;
border-radius: 4px;
color: #ffff;
width: 205px;
height: 34px;
font-size: 18px;
display: flex;
align-items: center;
justify-content: center;
gap: 10px;
border: none;
font-weight: 500;
letter-spacing: -0.08em;
}
#button-checkout-deuna img {
width: 20px;
}
Updated 4 months ago