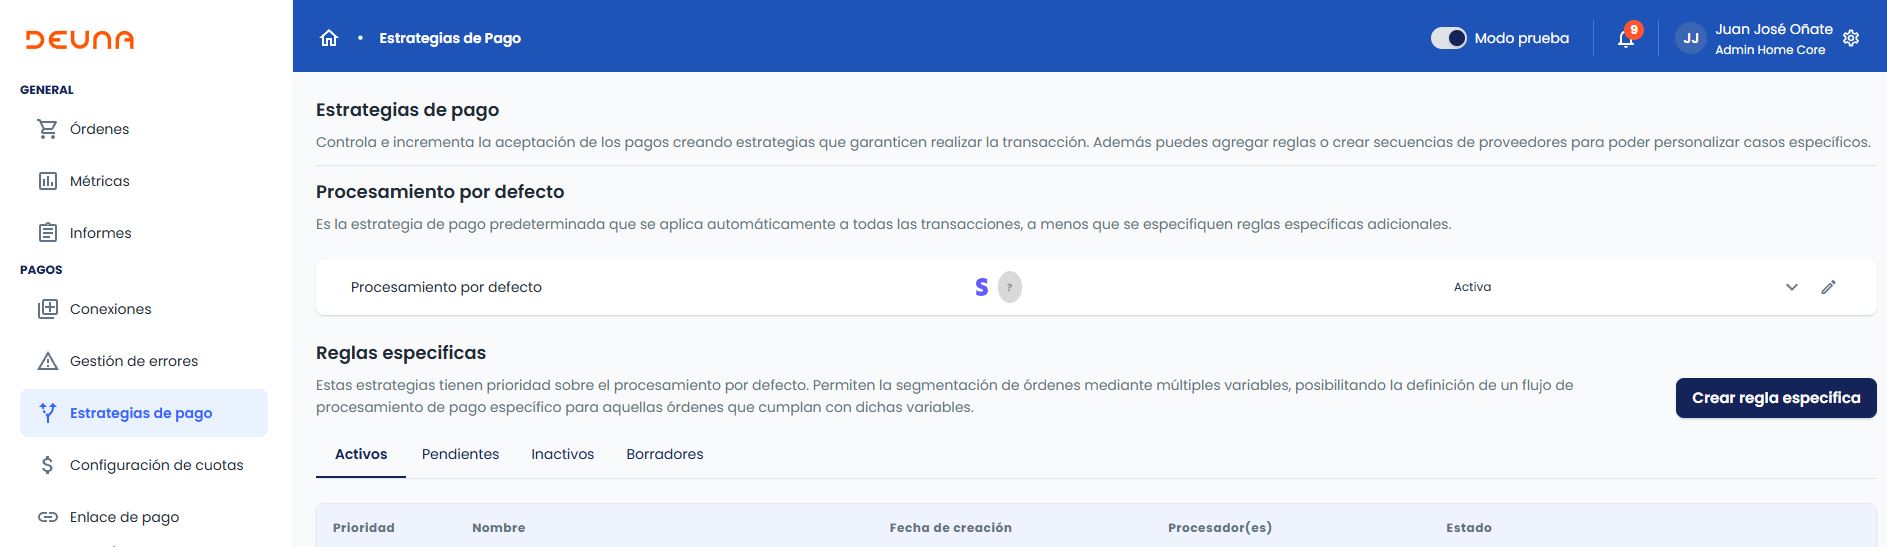
Payment strategies
Manage your transactions
In Payment strategies you can view the payment rules and strategies for your store or network.
In this section, rules for routing purchase transactions are created and providers that were previously configured in Connections are added.
Define your default processing
Default processing is the default strategy within your payment strategy. You can define default order processing in your store in the Admin by creating rules.

To learn how to configure default processing, refer to Default processing.
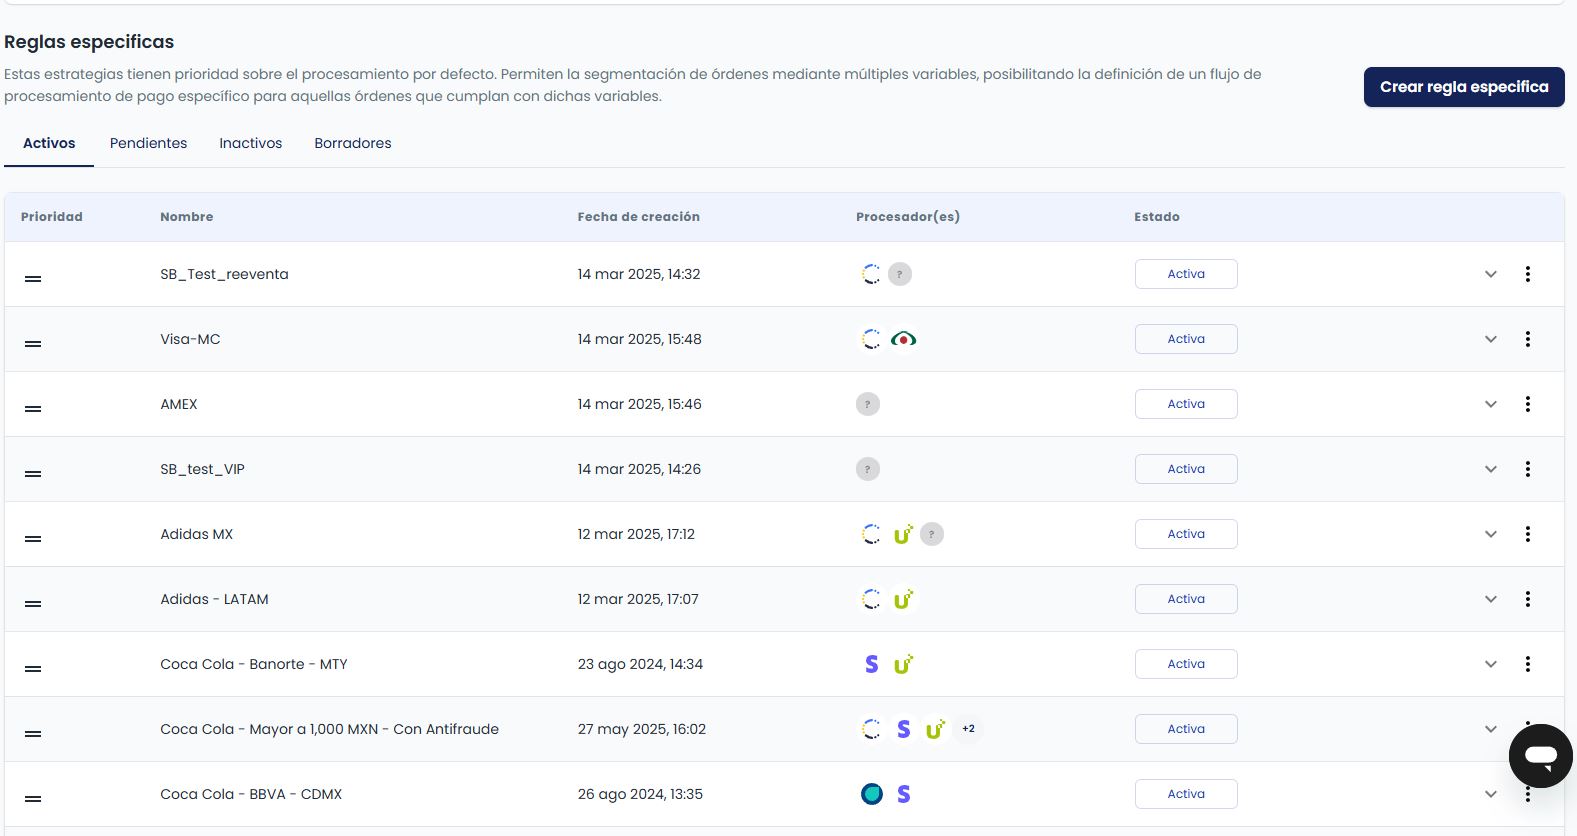
Specific rules
Processing rules allow order segmentation in your store through payment providers or anti-fraud engine providers.
To learn more about specific rules, refer to Specific rules.
Conditional rules
Configure a specific rule with email addresses or store conditions.
To learn more about specific rules, refer to Conditional rules.
Updated 10 months ago
Did this page help you?