Implement 3DS
Add 3DS to your payment strategy.
Enable 3DS from DEUNA Admin
To enable 3DS in Admin:
- Go to the Connections section in the Admin.
- Select the processor to activate.
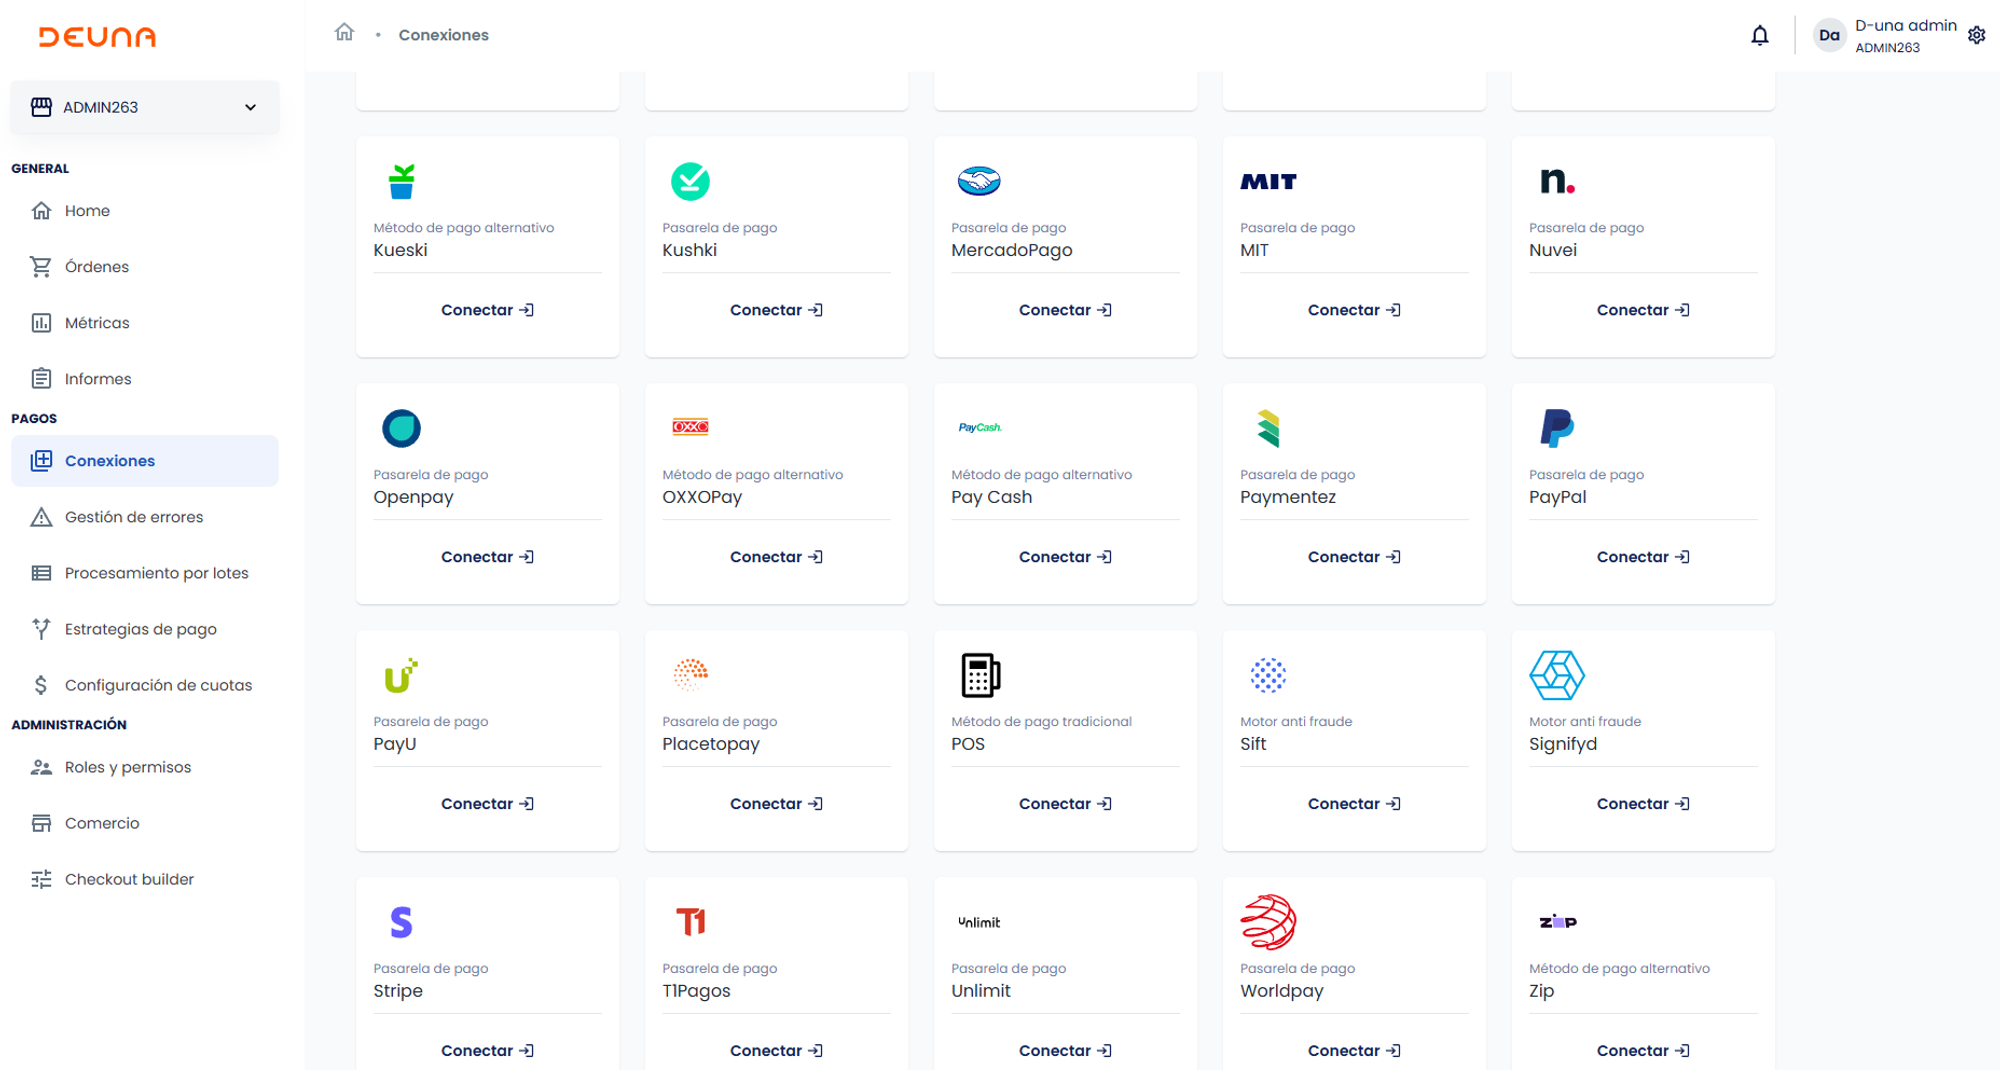
- Enter the respective credentials.
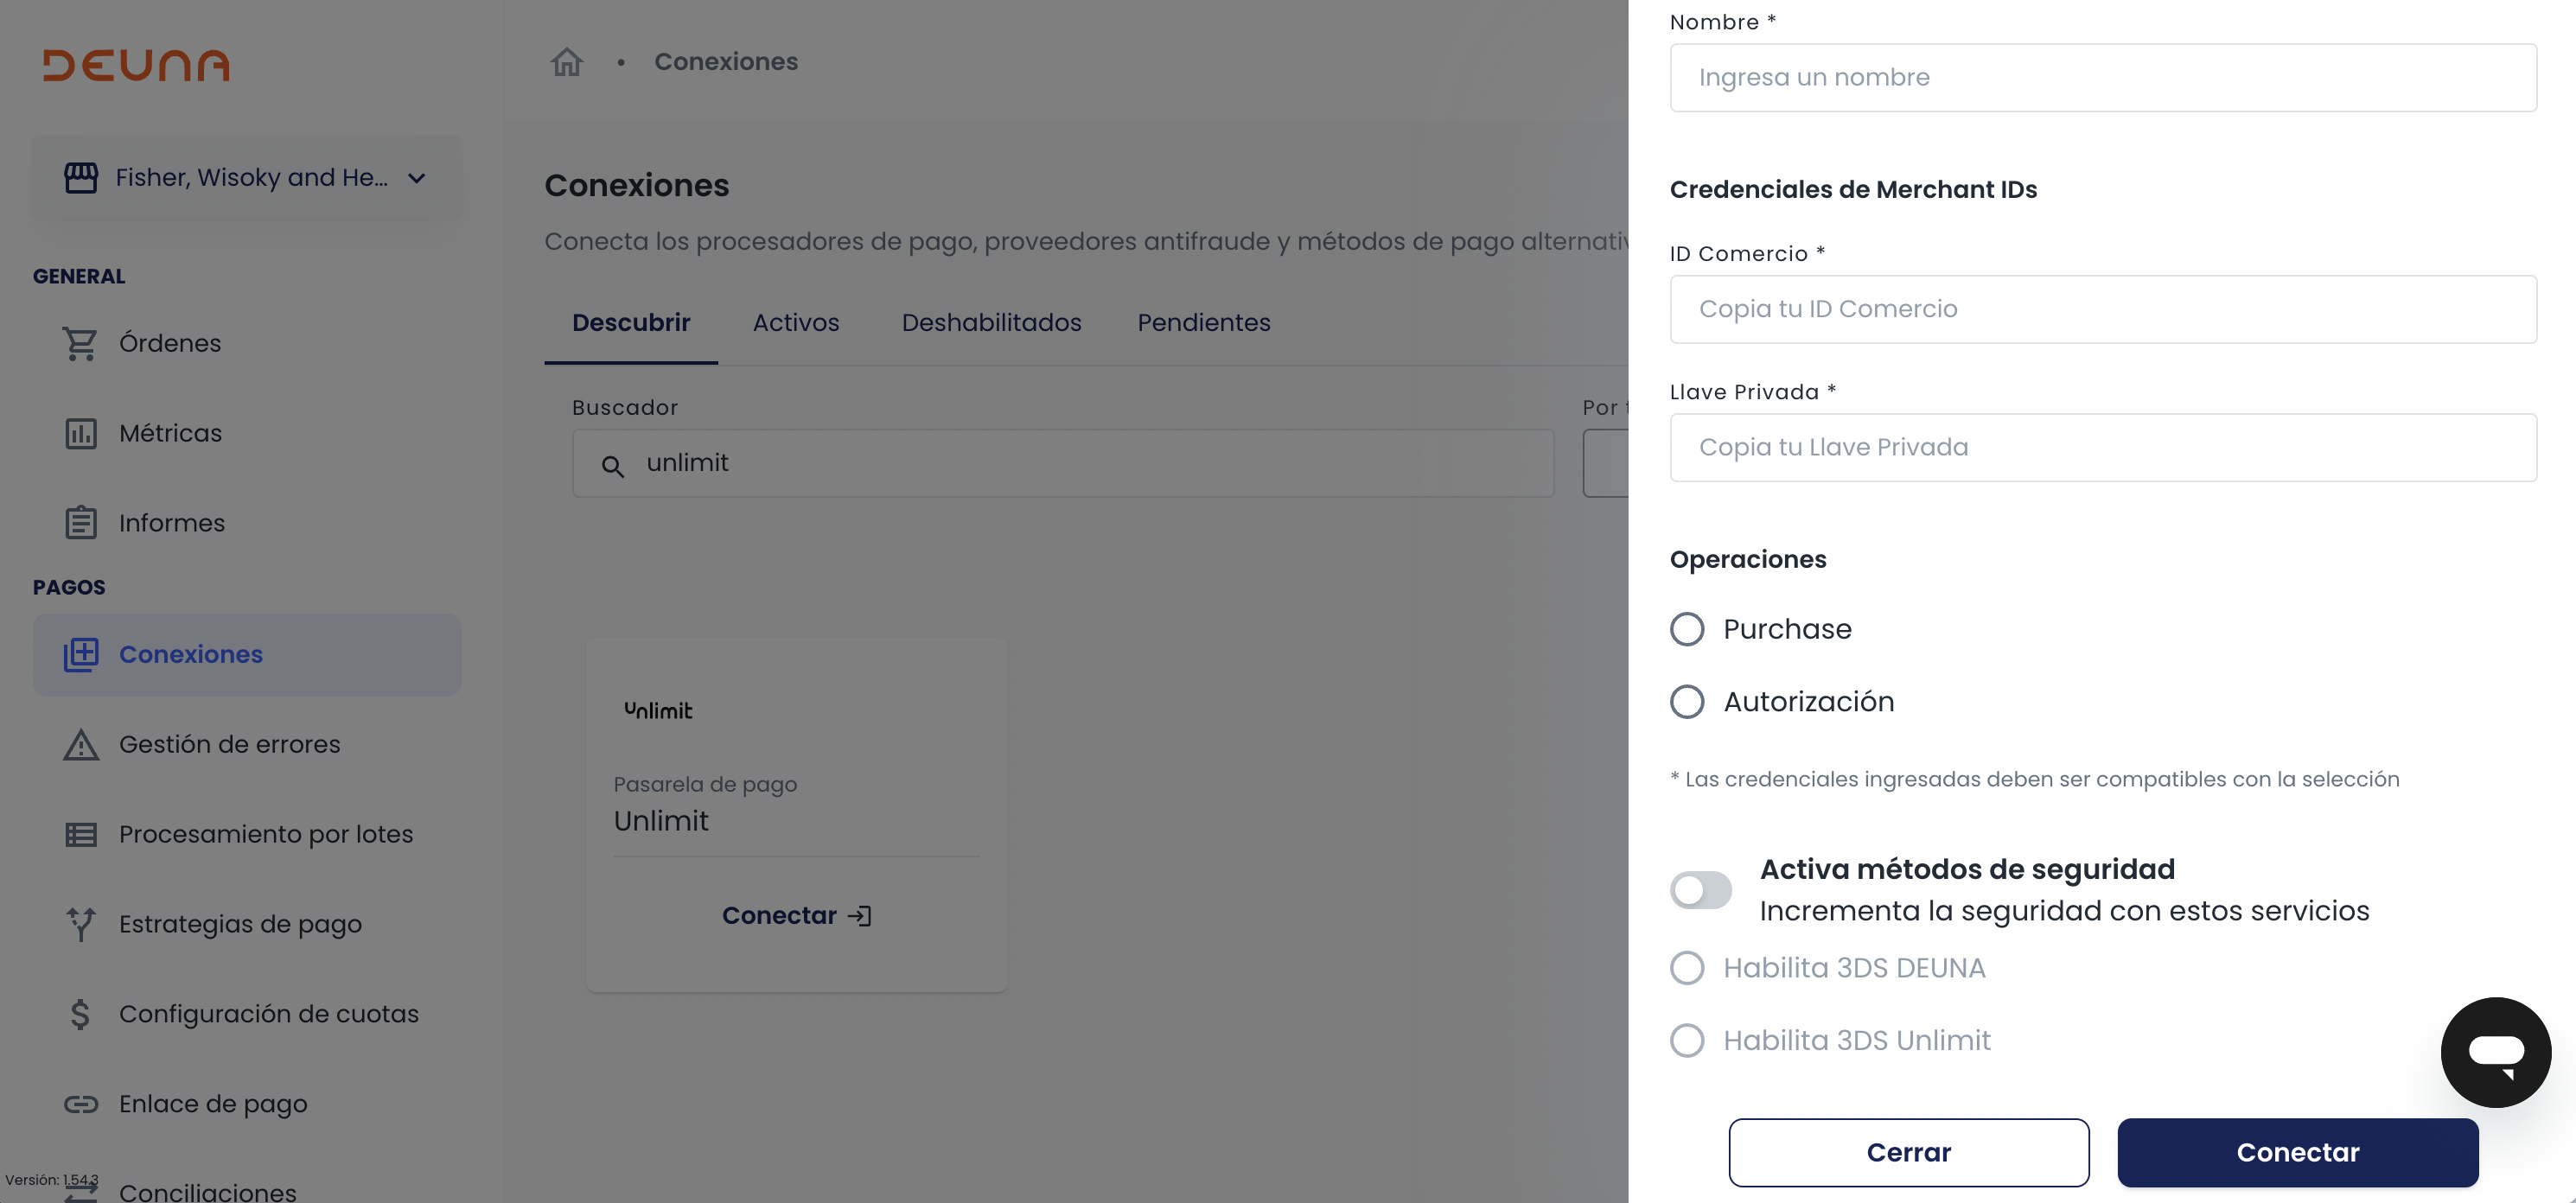
- Check the Enable security methods box
- Select:
- Enable DEUNA 3DS: Enables DEUNA's internal 3DS
- Enable processor 3DS: Enables the payment processor's external 3DS
- Click Connect.
Validate 3DS
To validate if a processor has 3DS active:
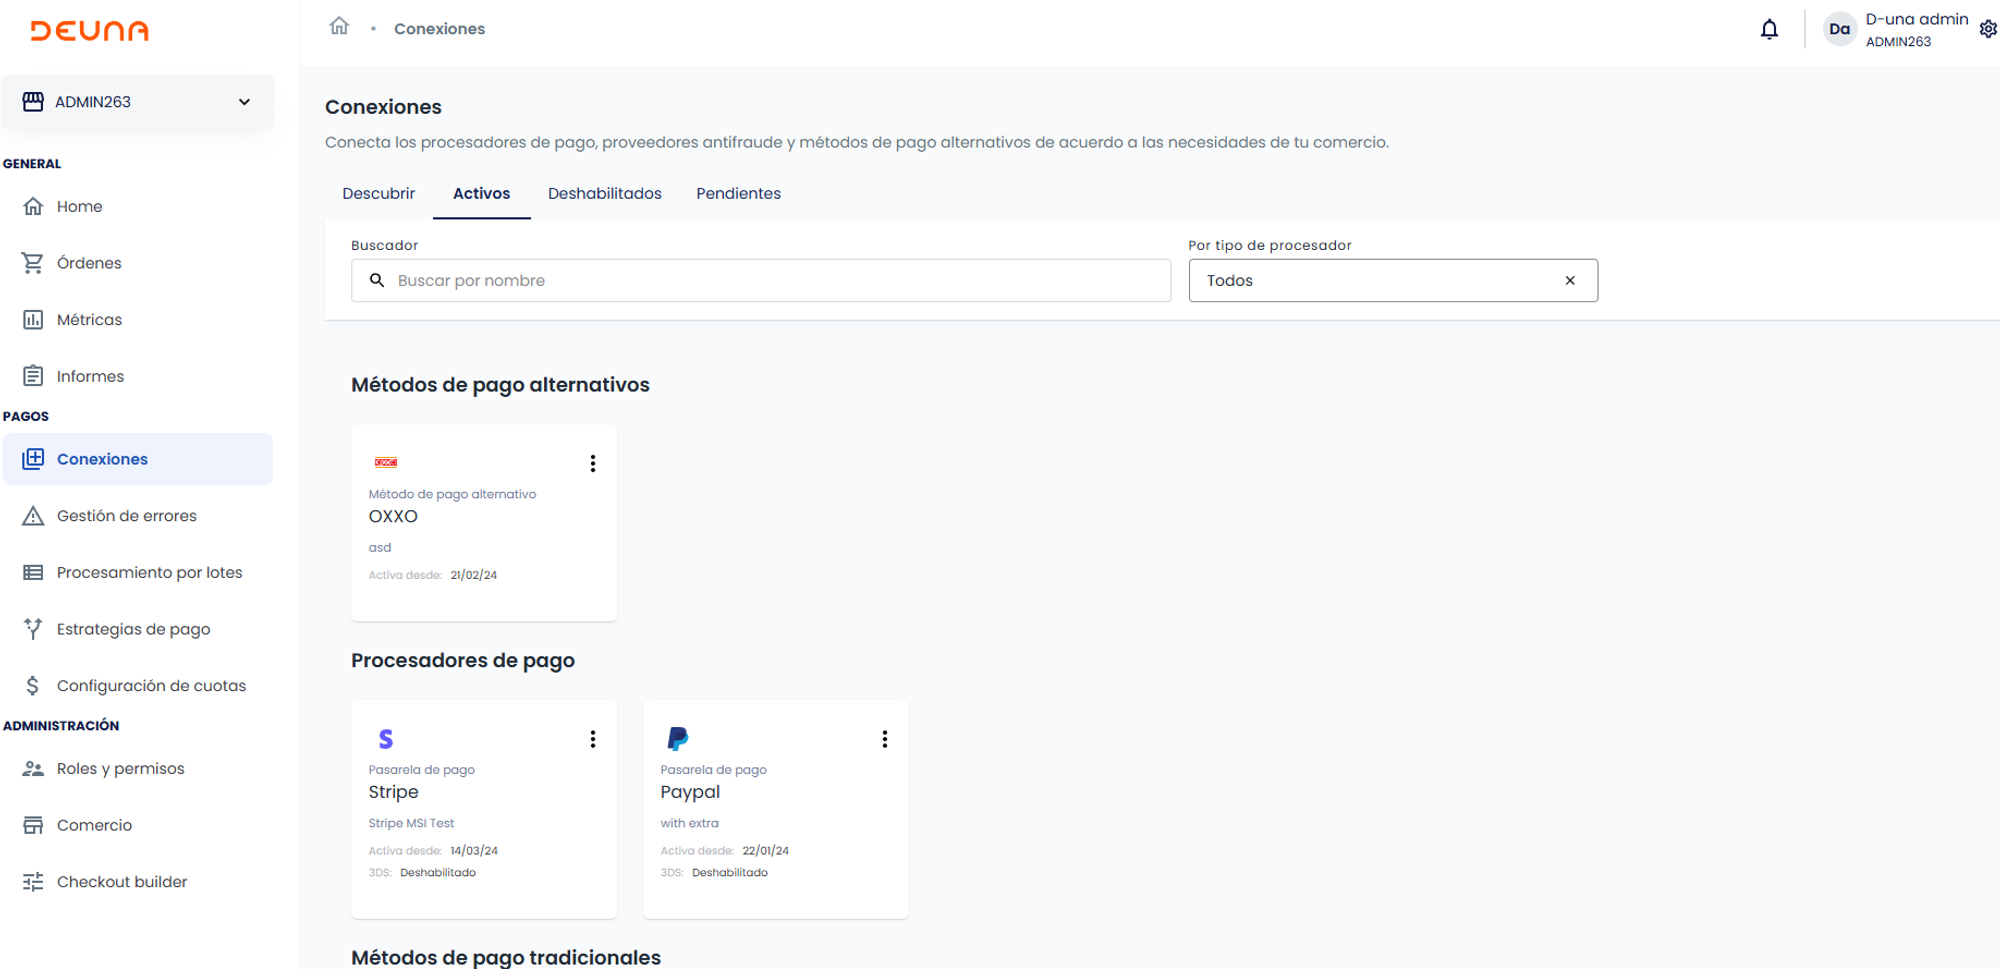
- Go to Connections.
- Search for the processor.
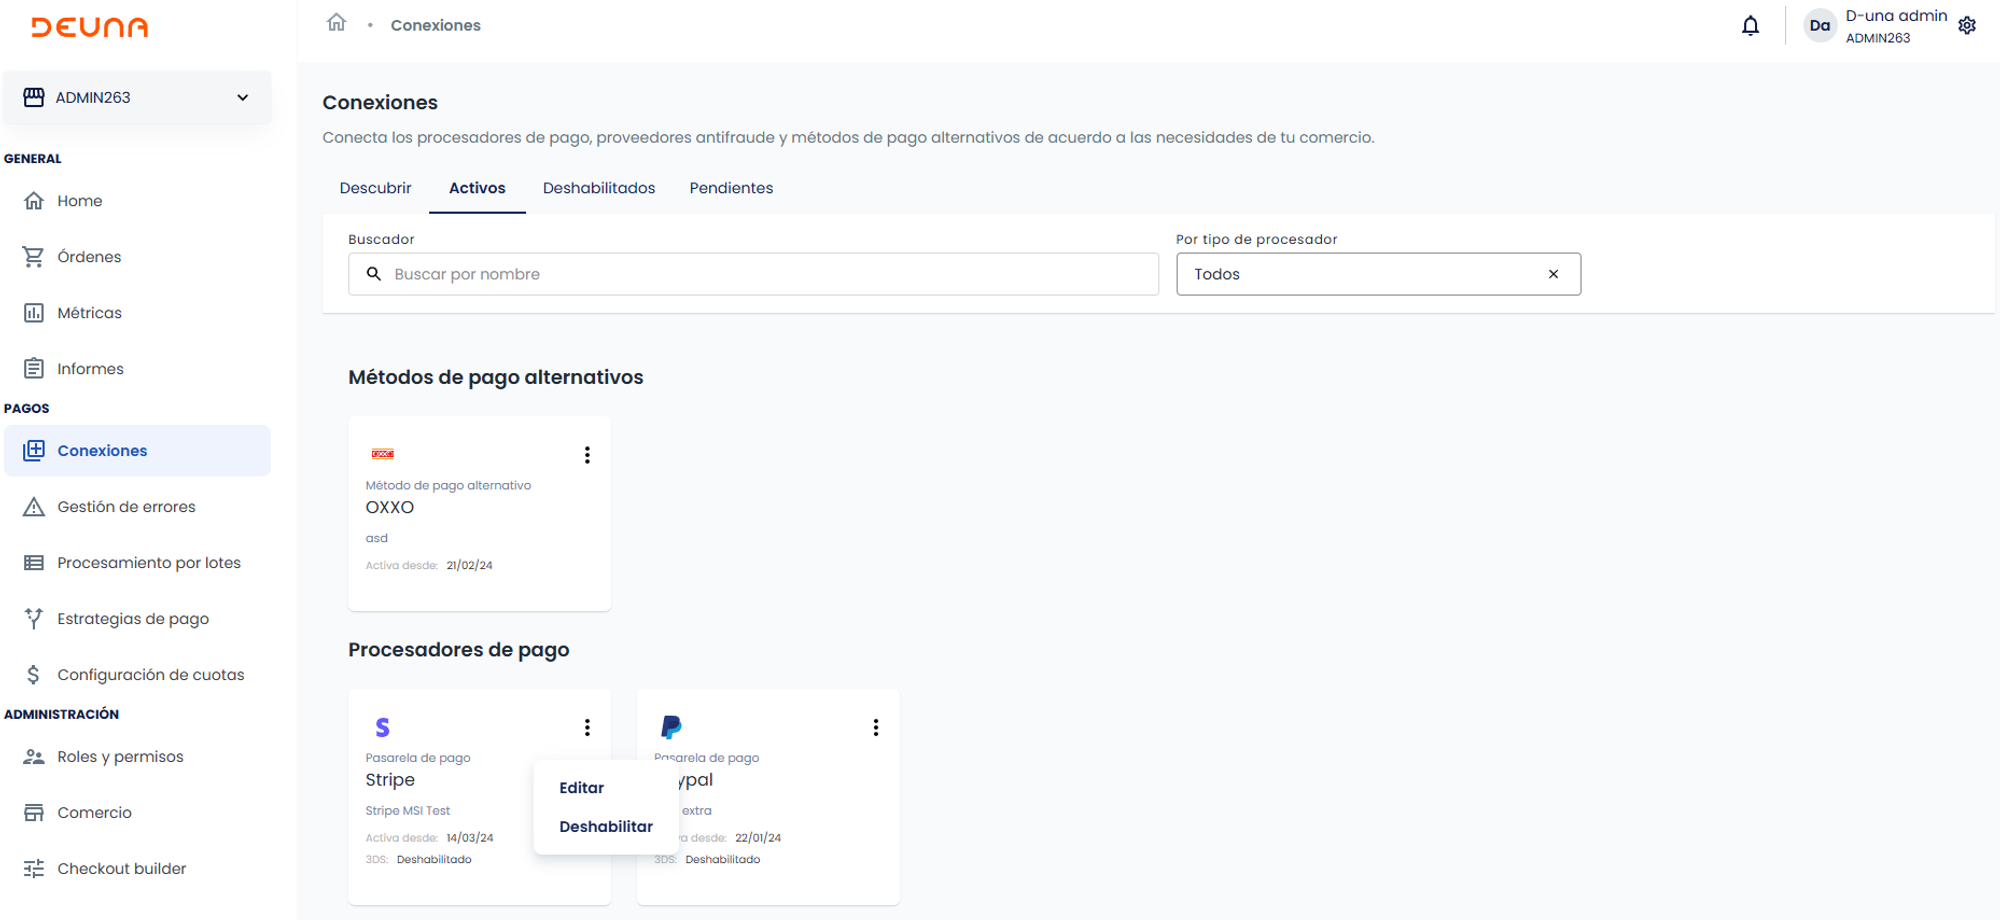
- Click on the three dots in the upper-right corner of the processor.
- Click Edit.
- Verify the 3DS in the processor detail.
Configure DEUNA's 3DS MPI
To use 3DS Merchant Plugin (MPI), provide the following information for each processor:
- Merchant ID (Affiliation Number): This is your merchant identifier registered with the acquirer that will be used to process this connection.
- Acquirer's BIN configured by the merchant: Bank Identification Number (BIN), issued by the your bank or processor.
- Merchant name: Your store name in the processor.
- MCC (Merchant Category Code): Example of where to get the value: https://www.mastercard.us/content/dam/public/mastercardcom/na/global-site/documents/quick-reference-booklet-merchant.pdf
- URL: Your merchant URL
- Country: Country where you operate.
The country ISO format is 2 characters.
Configure the 3DS display strategy
Once 3DS is enabled, you can define how it is displayed to the end user. With DEUNA, you can show the embedded 3DS authentication flow in the following products when the issuer allows it:
-
Payment link: Through a modal containing a modal with the 3DS challenge.
-
Payment widget for CC/DC and ClickToPay: Integrated directly into the widget, using an iFrame.
With DEUNA's 3DS MPI you can always configure it to display embedded to preserve the user experience within the Payment Link or Payment Widget environment, avoiding tab changes and enhancing conversion.
- Go to the DEUNA Admin.
- Go to Commerce.
- Navigate to the Widget customization tab.
- Select the type of experience:
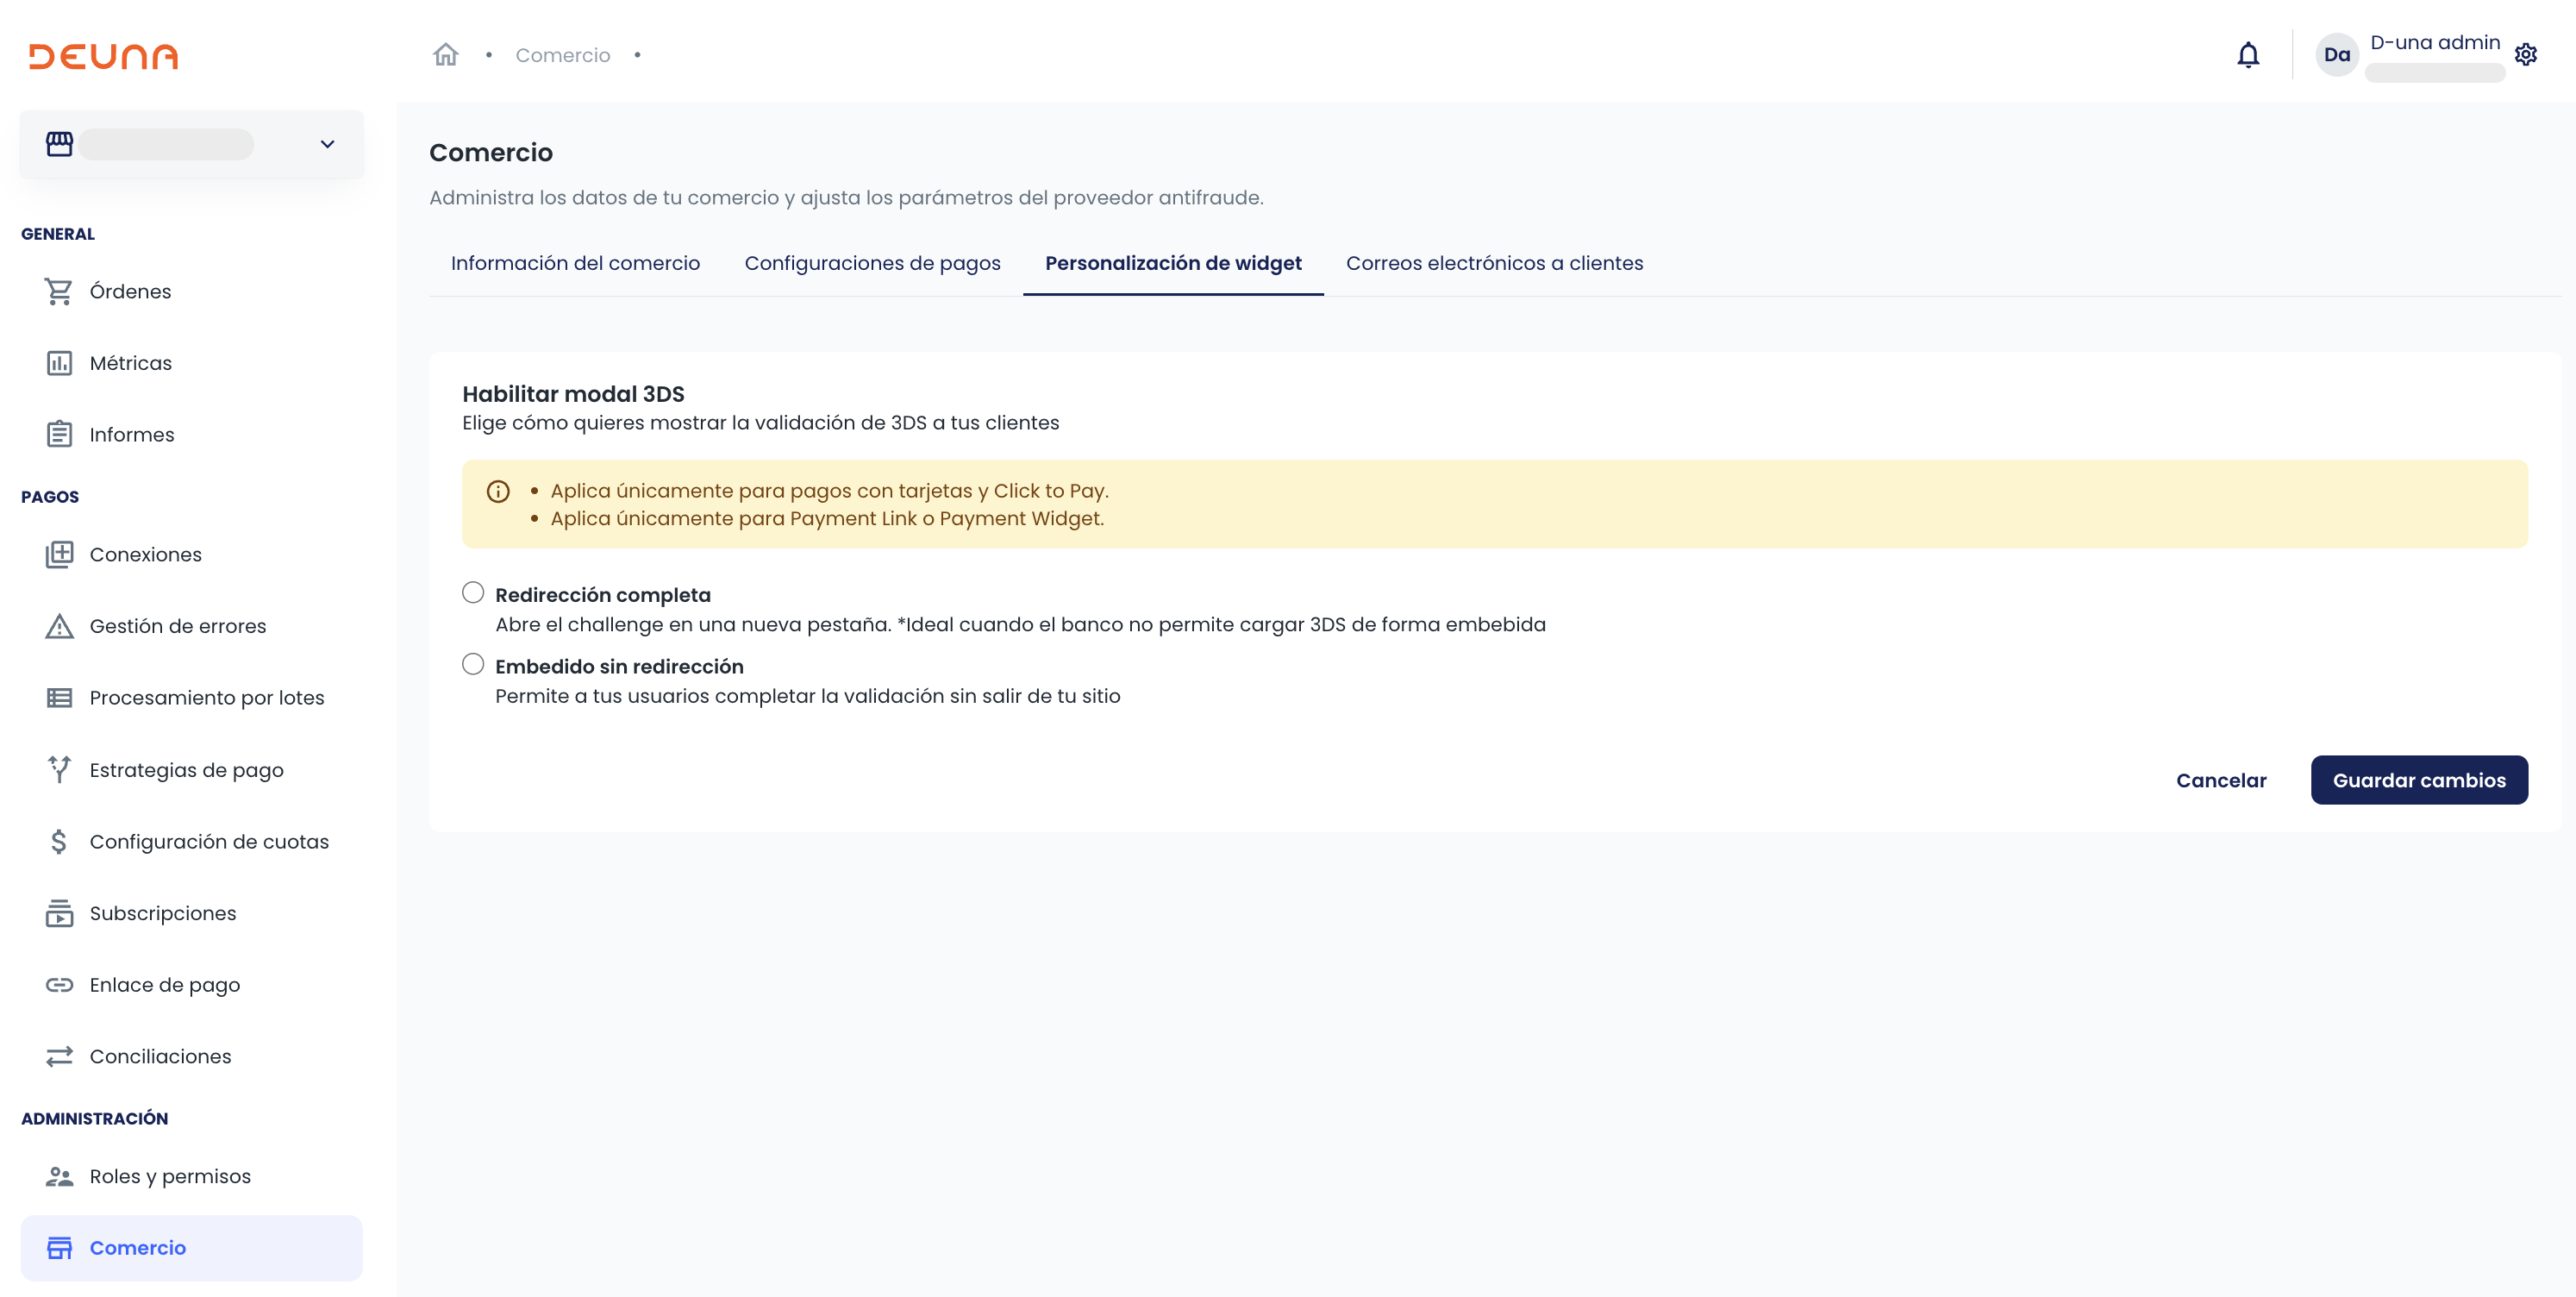
Currently supported integrations for Payment Link and Payment Widget are summarized as follows:
| Product | Notes |
|---|---|
| Payment widget | The embedded challenge is displayed within the widget when configured, if the merchant has the iframe configuration. |
| Payment widget + C2P | The embedded challenge is displayed within the C2P flow after the user clicks continue, if the merchant has the iframe configuration. |
| Payment Vault + InitNextAction | The challenge is displayed when using InitNextAction, shown embedded within a modal. |
| Payment Link | The 3DS challenge is displayed in a modal over the link, if the merchant has the iframe configuration |
Updated 9 days ago